2nd Nov 2021
Top 5 Questions About RapidMask
Our RapidMask film is the only sandcarving photoresist film on the market today that requires absolutely no washout. RapidMask films are dry processing and self adhesive films which are by far the most innovative films available. With fine detail halftone making ability and strong blast resistance, the combination of RapidMask High Detail and RapidMask High Tack provide an effortless sandcarving experience.
Top 5 Questions about RapidMask Dry Process Film
RapidMask is as simple as expose, apply and blast. Here are the top five sandcarving questions that we get asked about when it comes to RapidMask.
1. RapidMask does not require a washout step. How does it work? During the exposure step, UV light passes through the clear areas of the artwork, changing the color of RapidMask from green to dark blue. These dark blue areas become brittle and are blasted away. Once the blue, brittle areas are removed, glass etching occurs in the usual way.
2. Will RapidMask work with all substrates? For applications excluding glass, RapidMask may stain the substrate. The staining appears within two hours of film application to substrate. Testing the substrate is highly recommended. Please contact your Technical Sales Representative with further questions. Special acrylic instructions: used alone, RapidMask is not a suitable film for use with acrylic substrates. The peel after sandblasting is very difficult and becomes more difficult if the film and substrate are soaked in water. However, if the RapidMask is used in conjunction with BAT (Blastable Adhesive Tape), the peel is greatly improved, especially when the film and substrate are soaked in water. Test all acrylic applications.
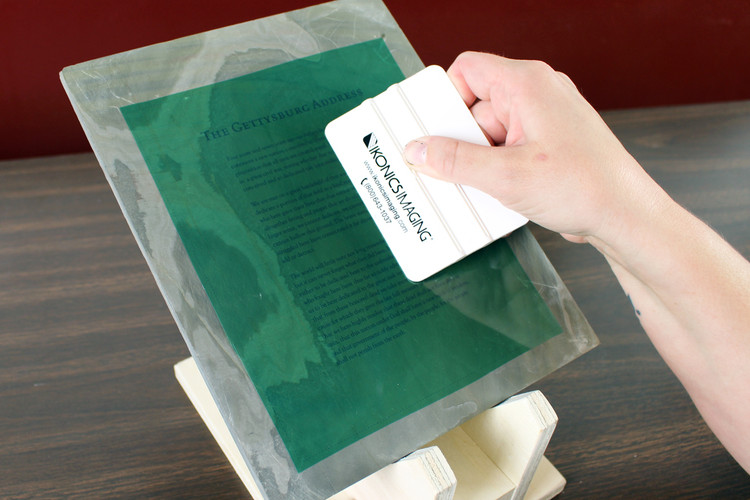
3. How do I apply RapidMask to my substrate? To minimize air entrapment and allow for proper positioning of RapidMask, the “hinge” method is recommended. Clean the substrate using a standard glass cleaner to remove dust and finger prints. Trim any exposed (blue) edges prior to application. Place the RapidMask film slip sheet side down (dull) on the substrate BEFORE removing the slip sheet and position it exactly where it needs to be. Tape along one of the edges using masking tape to hold the film in place. Hinge or flip the film back along the taped edge and remove the slip sheet by placing a piece of tape on one corner and peeling back to reveal the adhesive surface. Carefully move the film back over the substrate, but keep it elevated so it does not prematurely come in contact with the surface. Starting at the taped edge, squeegee the film down on the substrate. Remove the top carrier sheet by placing a piece of tape on one corner and peeling back. Wet lamination application is recommended when applying halftones.
>> RapidMask 2 mil High Detail User Guide
>> RapidMask 4 mil High Tack User Guide
4. How deep can I etch into my glass with RapidMask? RapidMask HT – up to 1/8” blast depth (depending on artwork). RapidMask HD – surface etch only. RapidMask HD is designed for halftones and light etching only. Sandblasting pressure, grit size, and blasting technique all play a role in how much depth you can achieve.
5. How do I know if RapidMask is exposed properly? You will need to establish the correct exposure time for your particular exposure unit. This is VERY IMPORTANT. The key to proper exposure for RapidMask is getting enough UV energy into the film so it changes color from green to dark blue where light hits the film and makes it brittle. The key requirement is that the film gets brittle. Follow the "Setting Up Your Exposure Unit" procedure in the RapidMask processing instructions. RapidMask is very tolerant to over-exposure, so always err on the side of more exposure rather than less.
If you have any additional questions about RapidMask Dry Process Film or any of our other sandcarving products, visit our FAQ page or contact our technical support team today.
