
21st Jun 2024
How To Use The Quick Image Exposure Unit for Sandcarving Films
Sandcarving professionals know how important precision and quality are when it comes to creating detailed designs for etching glass and other substrates. One essential tool that can significantly enhance your sandcarving process is a high quality exposure unit like the Quick Image LED Exposure Unit.
The Quick Image is designed to streamline the exposure of your sandcarving photoresist films, ensuring consistent and high-quality results every time. In this guide, we will walk you through how to use the Quick Image Exposure Unit effectively, and why it’s a game-changer for your sandcarving projects.
WATCH VIDEO: How To Use The Quick Image For Sandcarving Films
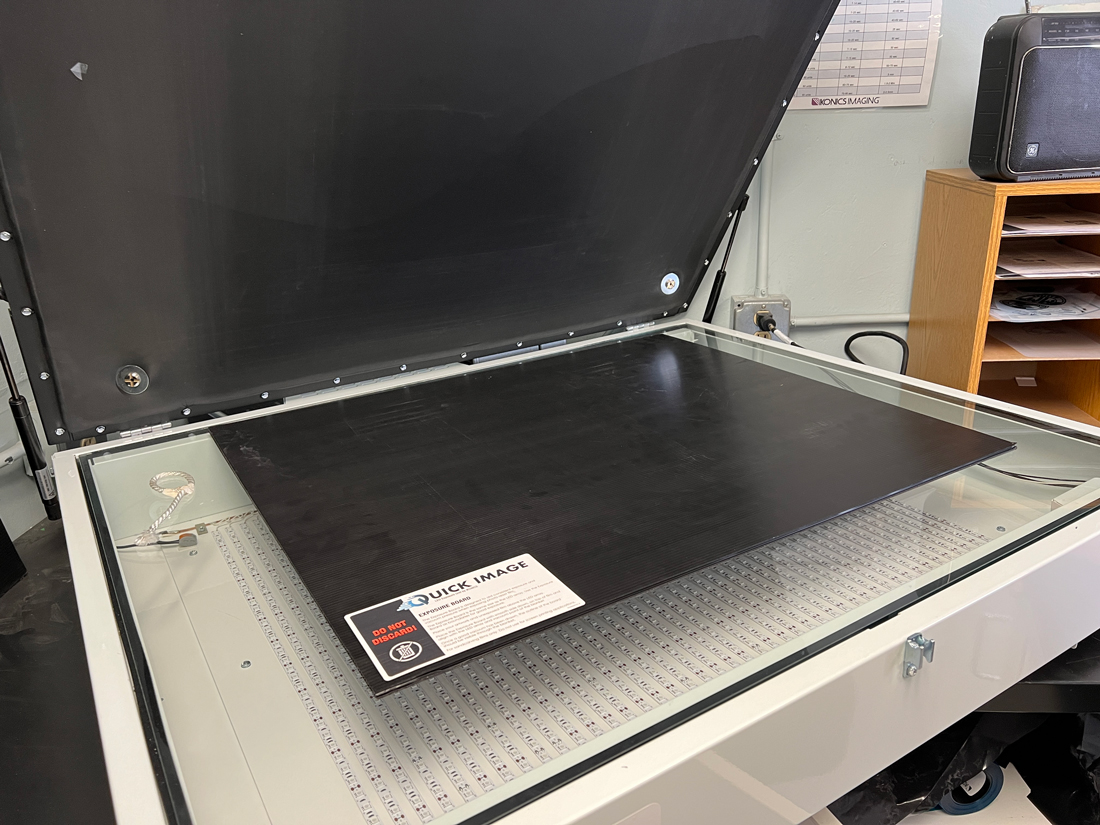
What is the Quick Image Exposure Unit?
The Quick Image is a state-of-the-art table-top exposure unit available in two sizes: 2631 (26 inches by 31 inches exposure area) and 2621 (26 inches by 21 inches exposure area). This unit caters to a range of sandcarving project sizes. The LED technology provides a uniform light source, crucial for achieving consistent exposure across the entire film surface. This uniformity ensures that every detail of your artwork is transferred accurately onto the photoresist film.
The Quick Image Exposure Unit is ideal for any sandcarving project that requires precision and detail. Whether you’re working on glass, metal, wood, or ceramics, using this exposure unit will help you achieve the fine details needed for high-quality sandcarving. It’s particularly useful when working with intricate designs, logos, or text that require sharp, clear edges. This unit is also perfect for batch processing, allowing you to expose multiple films quickly and efficiently, thus enhancing your productivity.
Step-by-Step Guide to Using the Quick Image Exposure Unit
By following these steps, you can effectively use the Quick Image LED Exposure Unit to expose your sandcarving photoresist films, ensuring high-quality results every time. The key components are referring to the correct exposure time, proper positioning of the artwork and film, and using the exposure board to prevent any exposure issues.
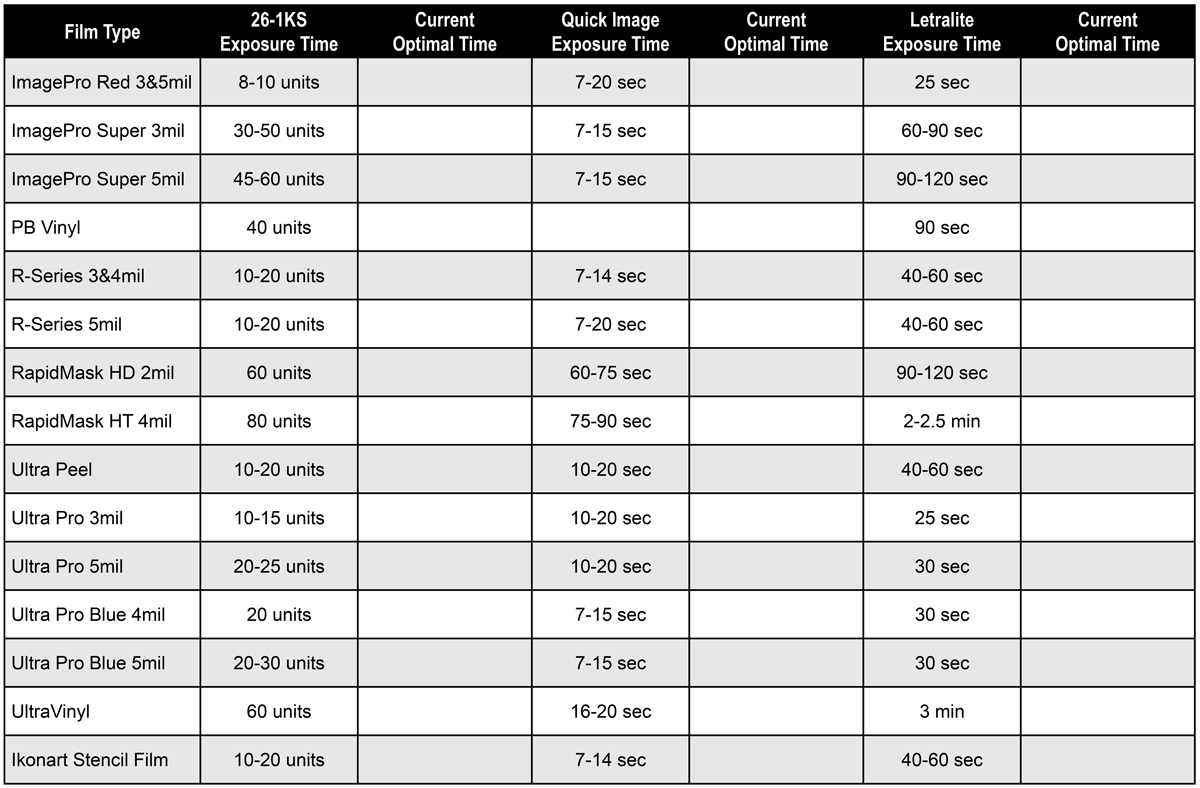
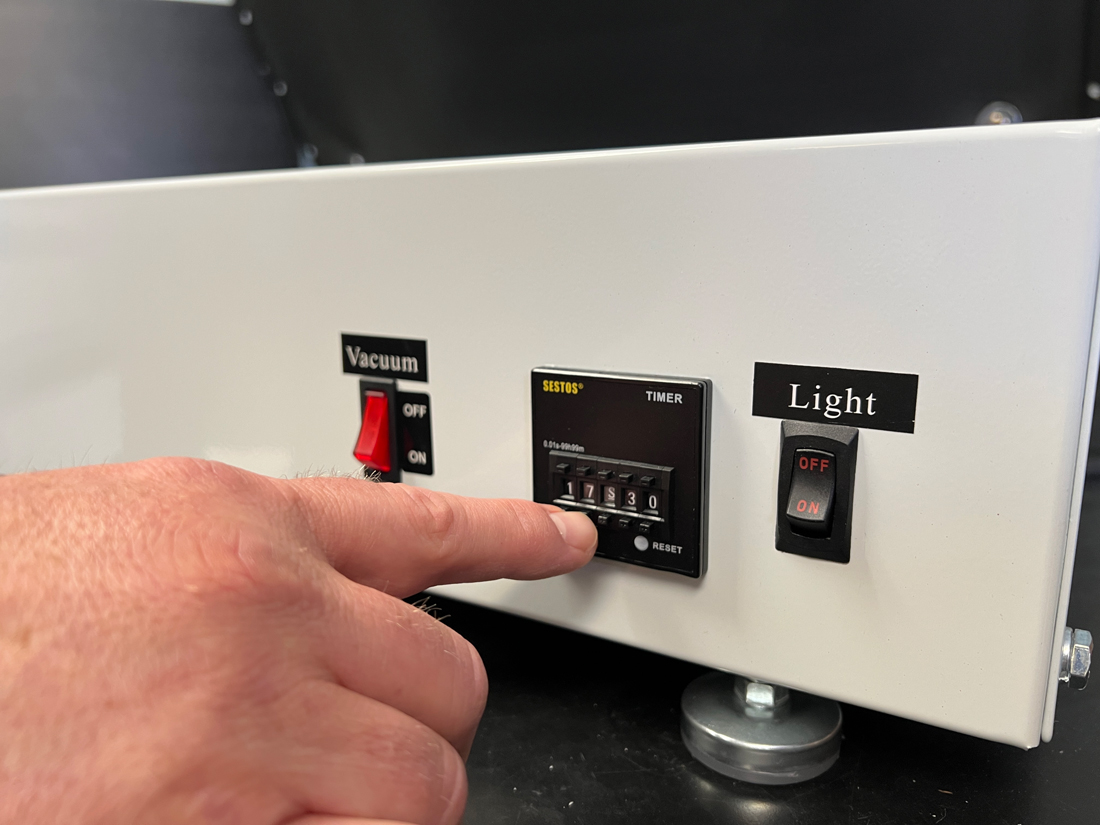
1. Determine Your Exposure & Set Timer
Use the exposure cheat sheet above to determine your exposure time*. Press the button on the front panel of the unit to adjust the time accordingly. For example, if you’re using UltraPeel HD, set the timer to 17 S (17 seconds). Download and print the Exposure Guideline PDF to keep track of your exact exposure times.
*NOTE: Exposure times are suggested only as a guide. All exposure times are approximations and will vary based on type of UV light source used, age of light source, and local voltage ranges. Exposure times can also vary based on the type or quality of the phototool (artwork) used.
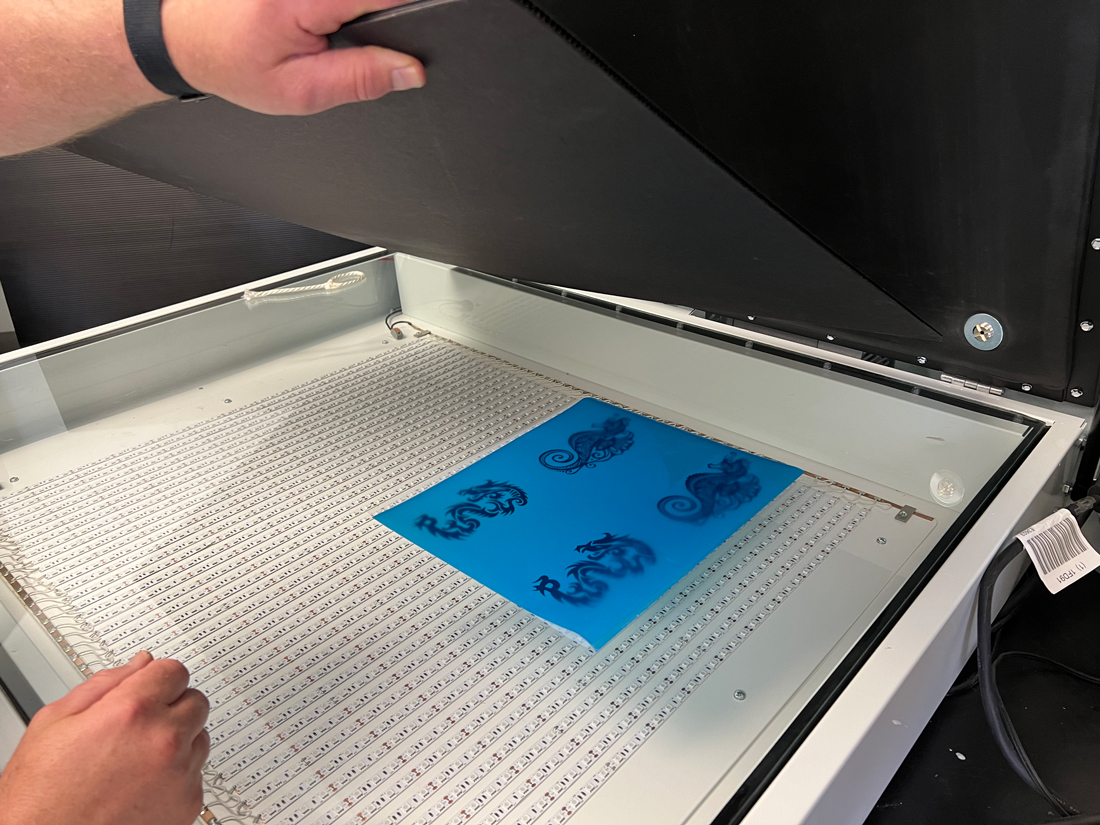
2. Place Your Artwork and Film
Since the light is coming from the bottom of the exposure unit, you want to place your artwork down first, then place your film on top. This ensures the light will go through your artwork to expose your film. Place your artwork on the exposure glass so that the text and images are in the wrong reading (mirrored) position. Place your photoresist film on top of the artwork, emulsion/coated side down.
3. Place Your Exposure Board
Place the exposure board over the top of the film. Make sure that the corner of the board is near the vacuum in the upper right corner of the exposure unit. This step is very important to ensure a good seal between your artwork and your photoresist film, which helps to avoid undercutting.
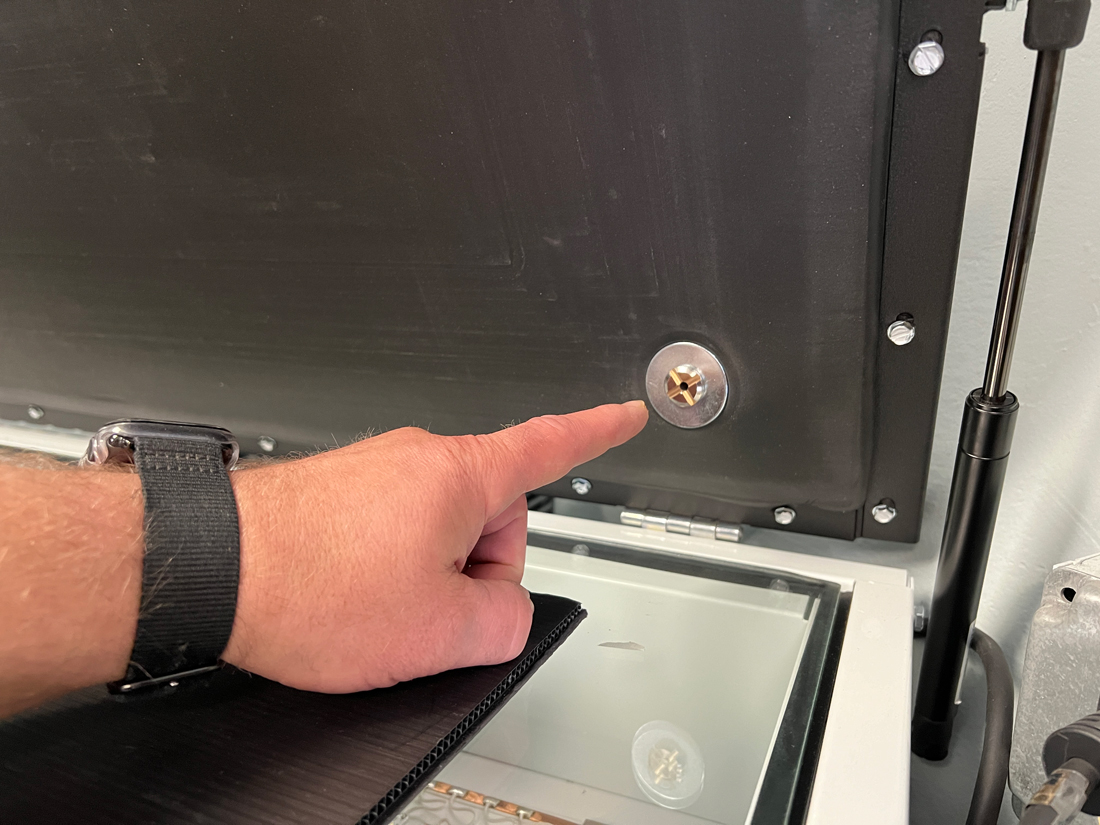
4. Expose The Film
Close the lid and lock it in place with the latch. Turn on the vacuum using the button on the front panel. Within 10 seconds, the vacuum will securely hold the board down, ensuring a good seal. Turn on the exposure light to begin the exposure process.
5. Remove Film
The light will turn off automatically when the timer reaches zero and the exposure is complete. Turn the light switch to of and switch off the vacuum. Unlatch and remove the exposure board. Your film is now exposed and ready for the washout process.
Increase Your Sandcarving Workflow With The Quick Image
Incorporating the Quick Image LED Exposure Unit into your sandcarving workflow is a game-changer for achieving superior results with ease and efficiency. By following the detailed step-by-step guide, you can maximize the potential of the Quick Image Exposure Unit, ensuring consistent and professional outcomes for all your sandcarving projects.
Whether you're working on a single piece or batch processing multiple films, this exposure unit enhances your productivity and the quality of your work, making it an indispensable tool for any sandcarving professional. If you have any questions about how to exposure your sandcarving photoresist films, please contact IKONICS Imaging. Happy sandcarving!