4th Apr 2023
Eliminate Chipping When Laser Engraving Glass
Laser engraving is a fast and efficient way to customize and personalize glass, but the finished result can sometimes look patchy and feel rough to the touch. Because of the high heat generated from the laser beam as it engraves the glass, tiny shards of glass are left on the surface which can feel rough and look uneven. Below are some techniques that laser engravers have come up with to try to reduce chipping and roughness when laser engraving glass.
How Does Laser Engraving Work?
Before we get into tips on how to limit chipping, it is important to understand how laser engraving works. As the laser beam strikes the glass it heats up the glass. The contact of the hot laser beam on the glass results in microscopic fractures in the surface of the glass. These fractures, or chips, are what is perceived as the glass being engraved. However, the glass isn't actually engraved. If you look really close you will see microscopic fractures and tiny shards of glass laying on the surface. No material was actually removed (the way it is with sandcarving). This is considered more of a surface mark than an actual engraving.
Reduce Chipping and Roughness when Laser Engraving
The fracturing of the glass surface when laser engraving can cause roughness and chipping (this will vary depending on the type of glass being engraved). While the etched appearance on the surface of the glass is desired, the roughness and chipping are not. Amy Dallman with Epilog Laser has the following suggestions for how to reduce chipping and produce a smoother finish when laser engraving glass items.*
- Lower Resolution: Using a lower resolution - around 300 DPI - can help to produce a better result on glass because you separate the dots you are engraving and thus use less heat.
- Reduce Black: Changing the black in your graphic to 70%-80% black will also use less heat and therefore create less micro-fracturing.
- Dithering: Applying a Jarvis dithering pattern in your laser driver settings will randomize and separate the dots of your artwork. Separating the dots will use less heat by the laser, and applying the Jarvis dithering pattern will create a smoother look when engraved.
- Newspaper Mask: Applying a thin, wet sheet of newspaper or paper towel can help with heat dissipation which can lead to less shards on the surface of your finished glass item. Important Note: Be sure there are no wrinkles in the paper after it is applied.
- Dish Soap: Applying a thin coat of liquid dish soap (any kind) over the area to be engraved can also help to dissipate the heat from the laser beam.
- Polish: If you have tried all these techniques and there are still shards of glass on your item after laser engraving, you can polish the surface area with a Scotch rite pad (or something similar) to reduce the rough feeling of the shards.
Eliminate Chipping and Roughness with Blazer Orange
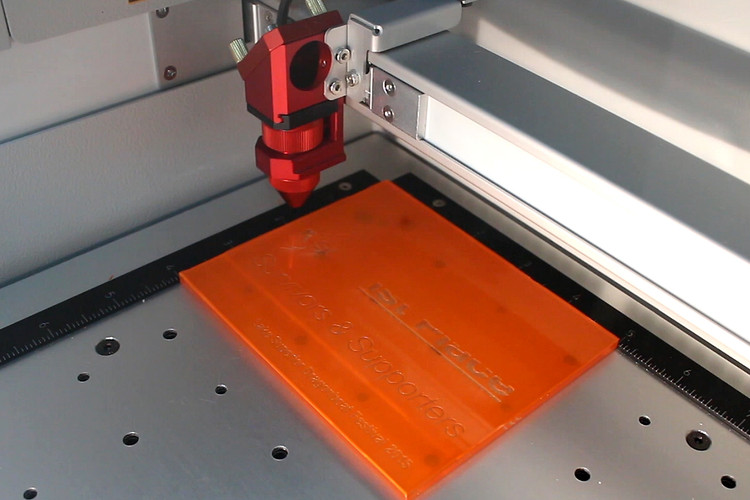
If doing all the tips mentioned above seems like a lot of work just to get a smooth, shard-free surface when laser engraving glass, then it's time to try the Blazer Orange Blastable Laser Mask from IKONICS Imaging instead. Blazer Orange was designed specifically to be used in combination with your laser engraver to eliminate chipping for a crystal clear finish when laser engraving glass.
You don't need to adjust your artwork, deal with messy, wet newspaper, or finish with a polish. Blazer Orange replaces all these steps. It is as simple as applying the orange mask to your glass piece before you laser engrave. The mask acts like a heat sink for the laser and works by reducing the amount of heat that touches the glass, which in turn reduces the number of chipping and fractures that occur in the glass outside the laser path. Peel off your mask after you are done laser engraving and you are left with a smooth finish free of shards.
Combine Laser Engraving & Sandcarving
If you want even cleaner edges, more depth in your engraving, color-filling options, or want to incorporate advanced techniques such as stage carving, you can easily combine laser engraving and sandcarving with Blazer Orange. After you are done laser engraving, leave the orange mask on and take your piece to your CrystalBlast sandcarving machine to finish it off.
Contact IKONICS Imaging
If you have any additional questions about how to get a smooth finish with laser engraving and Blazer Orange or combining laser engraving with sandcarving, please contact our support team today.
