
15th Oct 2024
Best Practices for Creating Sandcarving Artwork: A Comprehensive Guide
When it comes to sandcarving, your digital artwork plays a critical role in achieving professional, high-quality results. From ensuring sharp lines and accurate details to choosing the right file formats and design programs, your preparation sets the stage for clean, precise etching.
In this guide, we’ll walk through the best practices for creating artwork that’s perfect for sandcarving. For additional questions, head over to our Artwork & S3 FAQ page.
DOWNLOAD PDF: Best Artwork Practices for Sandcarving Reference Guide
Vector Artwork Best Practices for Sandcarving
Creating the perfect artwork for sandcarving starts with understanding the importance of quality, the right file formats, and design tools. By following these best practices—choosing vector artwork, using professional design programs, working with the correct line weights and halftones—you’ll ensure that your designs transfer cleanly to the photoresist film and produce crisp, professional results every time.
To get the best results in sandcarving, follow these key vector artwork tips and keep scrolling to learn about each one in more detail.
- Quality: Use high quality artwork and print as dark as possible. Avoid using too many small, intricate details that could get lost during the sandcarving process. Simplifying your design ensures better results, especially for deeper or stage carving.
- File Format: Save your final artwork as a vector file (e.g., AI, SVG, EPS). Avoid raster formats like JPEG or PNG, which can cause issues with image clarity during exposure.
- Design Program: Choose a design program that aligns with your skillset and workflow.
- Halftones: Use a DPI of 300 or higher when creating halftones and convert your images to black and white with well-defined dots.
- Line Thickness: Keep your line thickness at a minimum of 0.5mm. Thinner lines may not transfer well to the photoresist film.
1. Quality is Key
The quality of your artwork directly impacts the precision and clarity of the final etched design. Clean, high-resolution images translate into smooth lines and sharp edges on your etched products. Low-quality images, on the other hand, may result in blurry or uneven etching, leading to poor final results. We recommend printing on AccuBlack Inkjet Film for the darkest prints possible.
Here’s why high-quality vector artwork is essential:
- Sharpness and Detail: Crisp, clean lines are necessary to create a smooth transfer onto photoresist film.
- Scalability: Vector artwork can be resized without any loss in quality, which is crucial for sandcarving projects that range from small personalized items to large glass panels.
- Transfer Accuracy: Fine details, like thin lines or halftone dots, must transfer correctly onto the film to avoid missed elements during the sandcarving process.
- Efficiency and Consistency: Well-prepared artwork reduces the need for corrections or rework, saving you time and ensuring reliable results.
2. Choose the Right File Formats
File format matters when it comes to creating artwork for sandcarving. Best practice is to always create or convert your artwork into vector format for the cleanest, most precise results.
Here’s a breakdown of the most important formats:
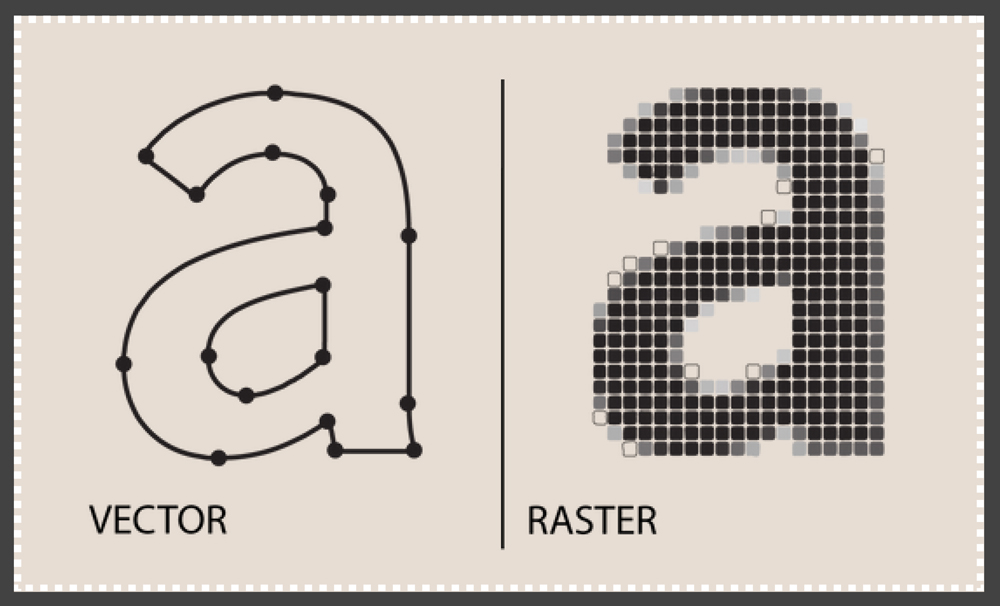
- Vector Files (AI, SVG, EPS, PDF): Vector files are made of paths, which means they are resolution-independent. This allows them to be scaled infinitely without losing quality, making them the ideal choice for sandcarving. Vector-based designs provide sharp, precise lines that transfer perfectly to photoresist or laser films, preserving the detail and clarity of your artwork.
- Raster Files (JPEG, PNG, TIFF, PSD): Raster files, on the other hand, are made of pixels and are resolution-dependent. When resized, these files can become blurry or jagged, leading to poor results during exposure and etching. Raster images can be used if converted into vector format, but they are not ideal for direct use in sandcarving projects.
3. Use the Right Design Programs
To achieve professional sandcarving results, it’s essential to use the right tools for creating and editing your artwork. Here’s a look at some of the best programs:
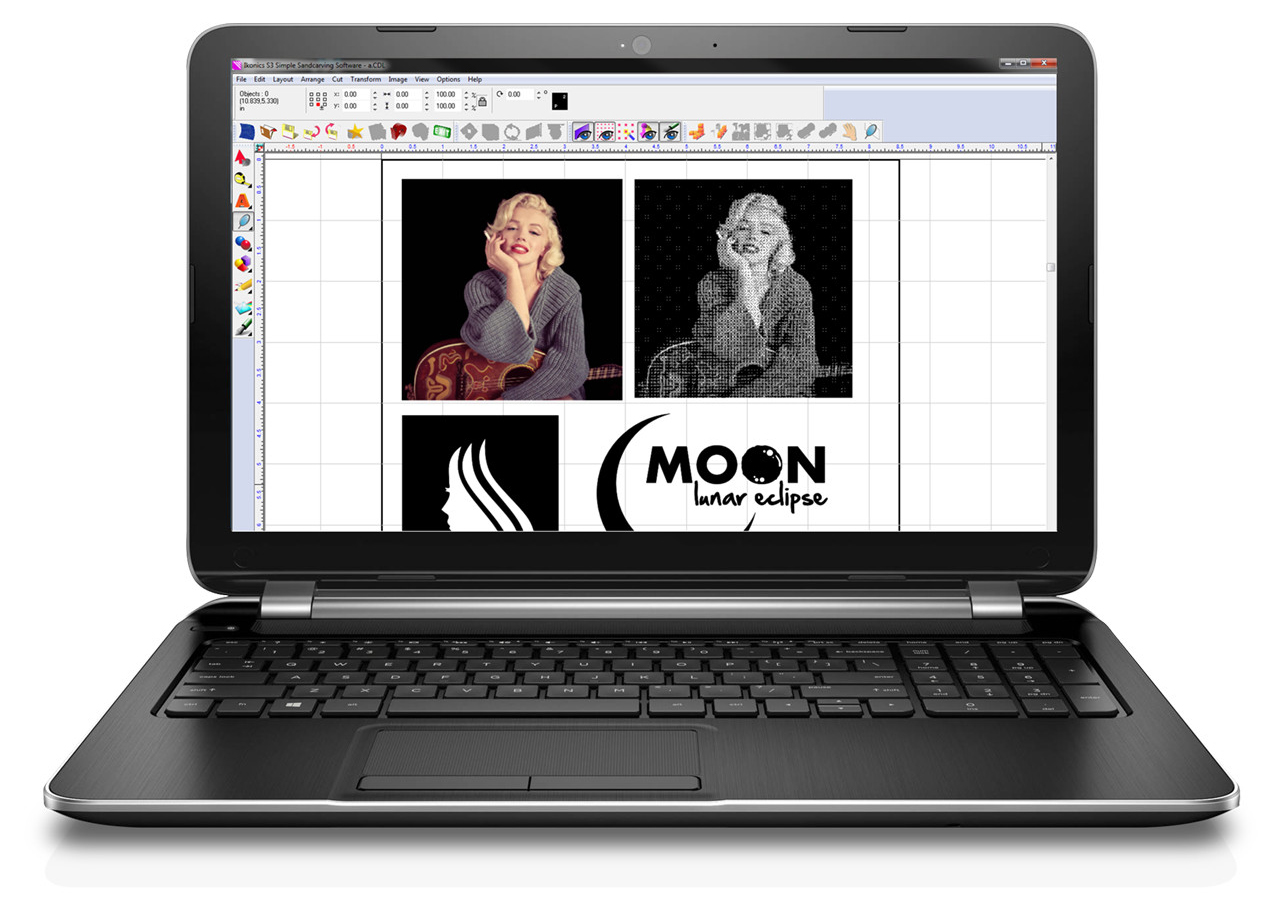
- S3 Simple Sandcarving Software: S3 Simple Sandcarve Software is the ONLY software available that was created specifically with the sandcarving industry in mind. This software is great if you feel overwhelmed with all the options of Illustrator or CorelDRAW. View our S3 playlist on YouTube for a variety of artwork tutorials geared specifically towards sandcarving.
- Adobe Illustrator & CorelDRAW: These professional vector-based design programs give you complete control over your artwork. From adjusting line thickness to creating scalable designs, they ensure that your work meets the high-quality standards needed for sandcarving.
- Free Alternatives: If you’re looking for free options, Inkscape, Corel Vector and Vectr offer powerful vector-editing capabilities. While they don’t have all the advanced features of Illustrator or CorelDRAW, they are great for creating clean, scalable designs for sandcarving.
- Raster Programs (Photoshop): While Photoshop and other raster-based programs are not ideal for creating sandcarving designs, they can be useful for preparing images for vectorization. For example, you can use Photoshop to convert photographs to halftones or black-and-white designs, which can then be vectorized for sandcarving.
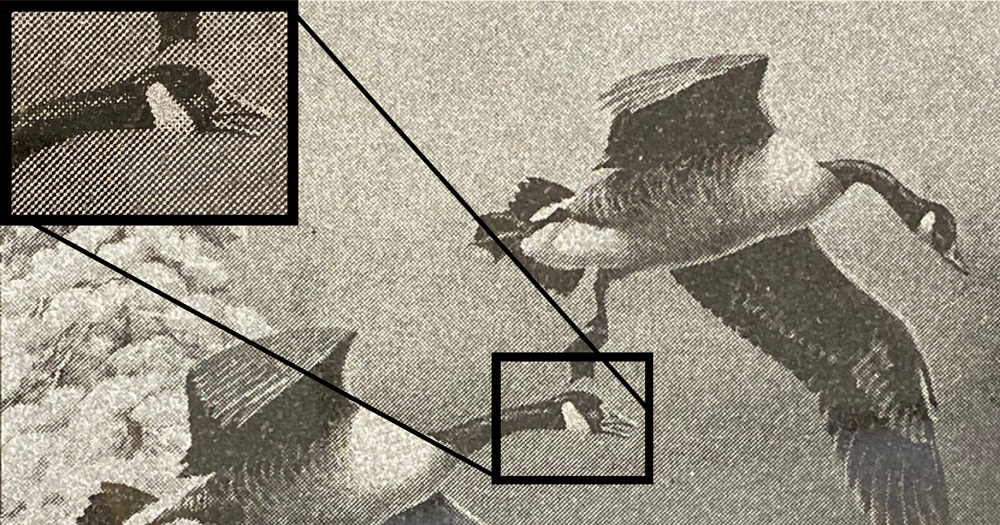
4. Working With Halftones
Halftones are often used in sandcarving to create shading or gradients. However, to achieve clear and precise results, you must follow specific steps when working with halftones. Here are a few guidelines, but for a more in-depth tutorial, check out our blog post, How To Create Halftones in Photoshop for Sandcarving.
- Convert to Grayscale: Start by converting your image to grayscale to ensure an even contrast.
- Set a High DPI (300 or Higher): A high DPI ensures that your halftones transfer clearly onto the photoresist film.
- Line Size (LPI): For halftones, set the dot size to a minimum of 35 lines per inch (LPI) for clean results, though up to 65 LPI may be needed for higher clarity in detailed designs.
5. Line Weight Matters
Line thickness is critical in sandcarving because the blast depth is limited by the width of the line. Too-thin lines can result in poor transfers or incomplete etching, so make sure your lines meet the following minimum thickness requirements:
- 5 mil Film: Lines should be at least 0.012 inches (0.305 mm) wide; set type size to 9 pt or higher.
- 10 mil Film: Lines should be at least 0.022 inches (0.558 mm) wide; set type size to 20 pt or higher.
Ensure that letters with enclosed spaces, like A, B, and O, are large enough for the mask area to hold without filling in during the blast process.
Contact IKONICS Imaging
Follow the IKONICS Imaging Instagram page and IKONICS Imaging Facebook page for additional sandcarving tips. If you have any additional questions about how to create artwork for sandcarving, please contact IKONICS Imaging today.