19th Feb 2025
5 Common Sandcarving Mistakes and How to Avoid Them
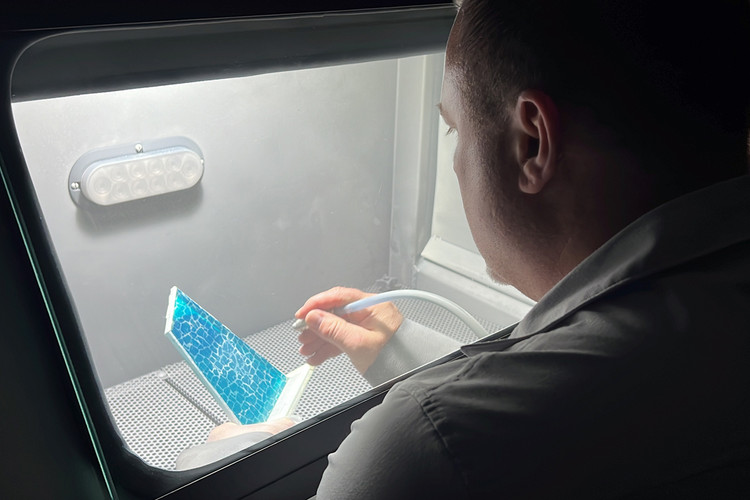
Sandcarving is a powerful and versatile engraving technique that allows for the creation of highly detailed, custom designs on a variety of surfaces, including glass, metal, stone, and more. It is widely used in industries such as awards and recognition, signage, personalization, and even fine art.
Whether you are creating intricate logos, text, or artistic imagery, sandcarving provides a level of precision and depth that other methods simply can’t match. However, despite its advantages, sandcarving is a skill that requires attention to detail and the right techniques to achieve consistent, high-quality results.
Five Sandcarving Mistakes to Avoid
Even small mistakes in material preparation, blasting technique, or equipment maintenance can lead to poor results, wasted materials, and frustration. Fortunately, many of these issues can be avoided with the right knowledge and preparation. Understanding common pitfalls and how to avoid them can make a significant difference in the quality of your sandcarved projects. Let’s dive into five frequent sandcarving mistakes and how to prevent them.
1. Choosing the Wrong Sandcarving Film for Your Project
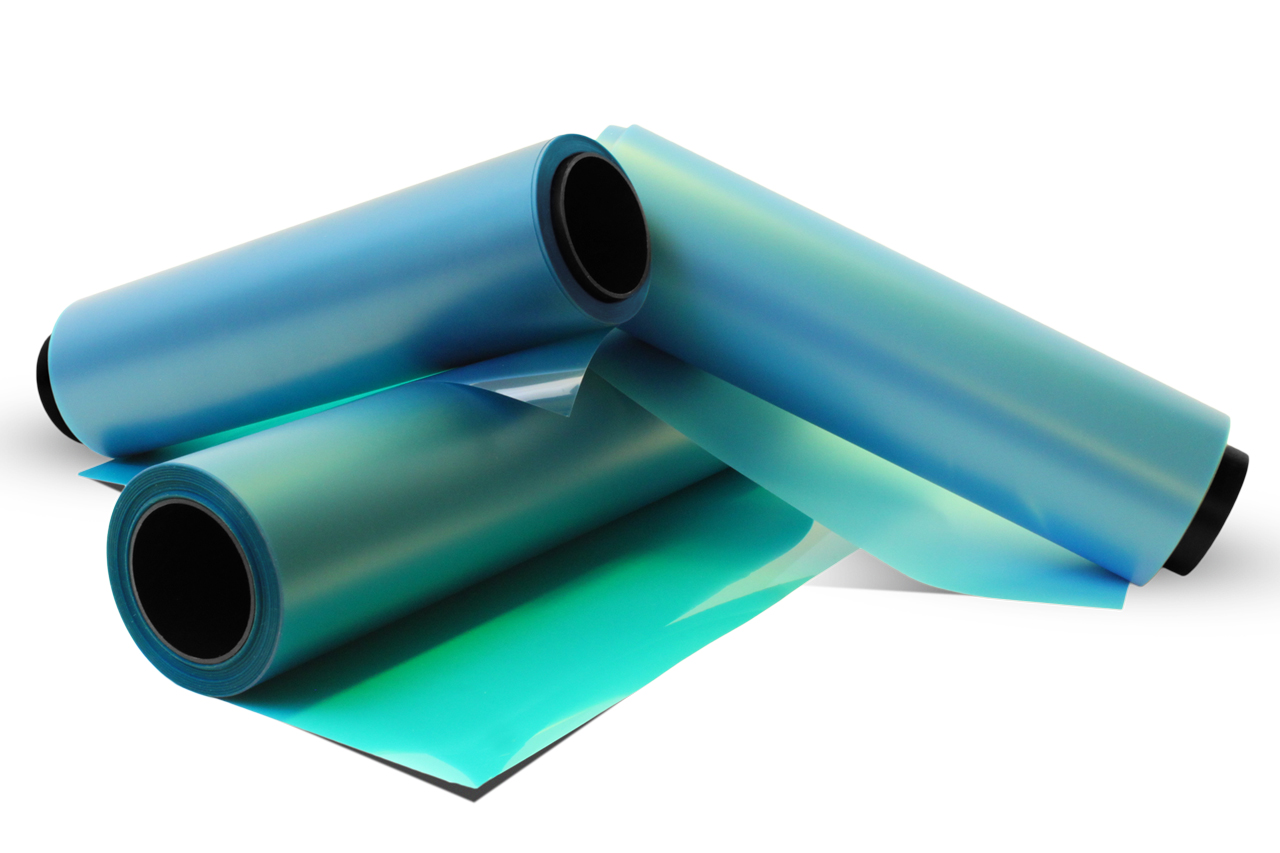
Selecting the right photoresist film or laser mask film for your project is crucial for achieving a high-quality sandcarved design. The thickness of the film should match the level of detail and depth you need for your project. Thicker films are ideal for deeper carving, while thinner films are better suited for intricate designs with fine details. Additionally, consider the material you’re working with—some surfaces require more durable films for optimal adhesion and performance.
To learn more about selecting the correct photoresist film for your project, check out our in-depth guide: Choosing the Right Photoresist Thickness and What Materials Can I Sandcarve?.
2. Choosing the Wrong Grit Size for Your Project
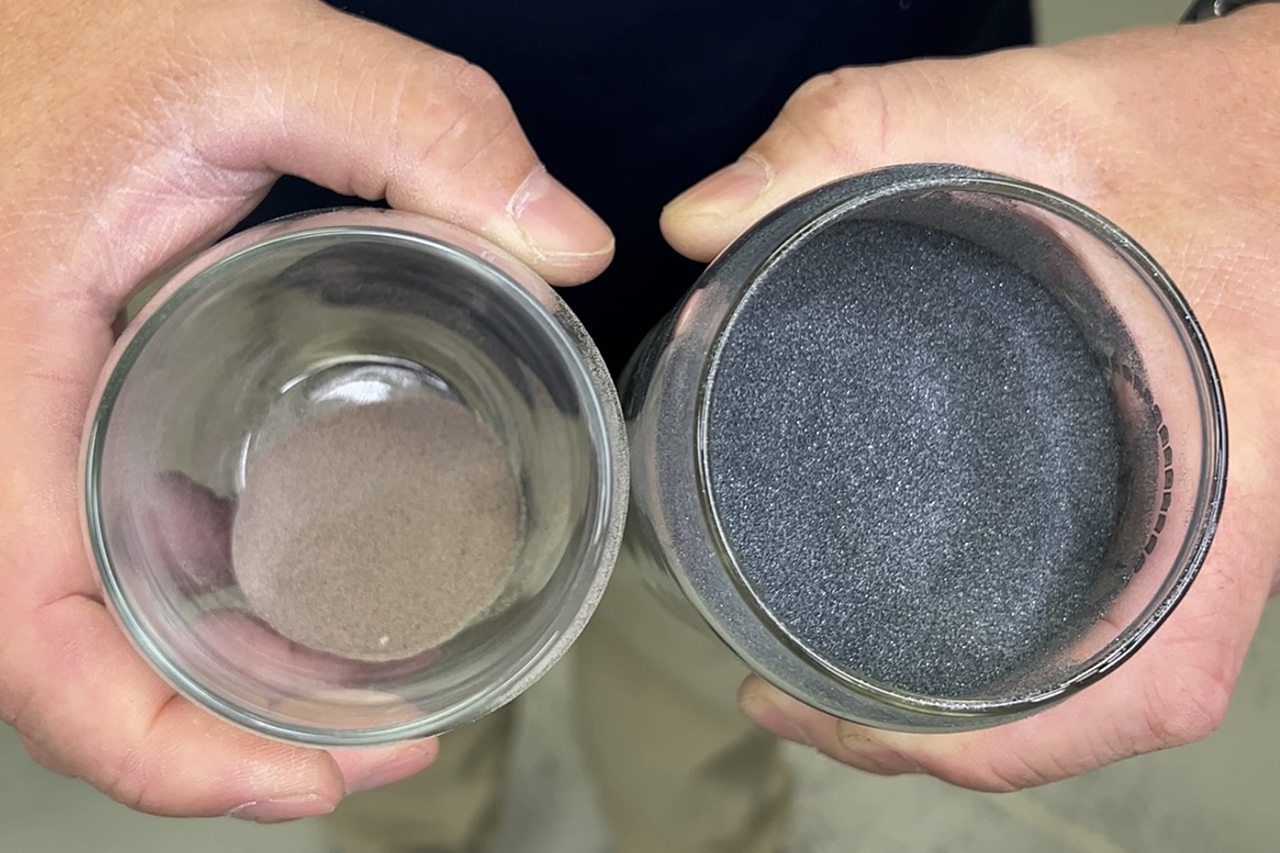
Using the wrong abrasive grit size can lead to undesired results, whether that’s a design that lacks detail or excessive material removal. Fine grit is ideal for achieving sharp, detailed designs, while coarser grit is better for deep carving. Understanding how different grit sizes interact with various materials will help you get the best results for your specific application.
For a full breakdown of how to choose the right abrasive for your sandcarving project, visit our guide: How to Choose the Right Abrasive for Sandcarving.
3. Using a Worn-Out Nozzle
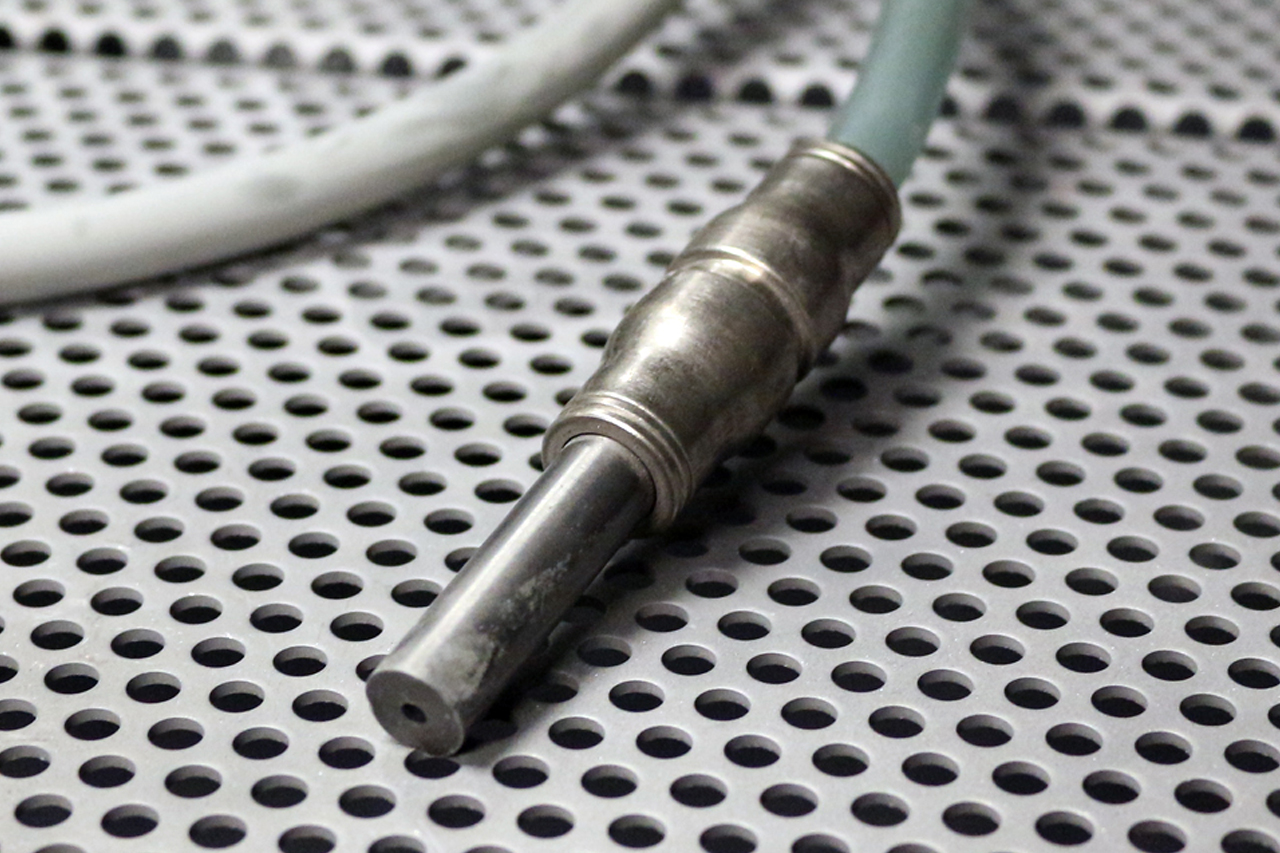
A worn-out CrystalBlast nozzle can lead to inconsistent blasting pressure, uneven carving, and even damage to your design. Regularly inspecting and replacing your nozzle ensures a steady flow of abrasive, providing precise results. If you notice irregular blasting patterns, excessive wear, or difficulty maintaining consistent pressure, it may be time to replace your nozzle.
For tips on when and how to replace your CrystalBlast nozzle, read our blog: Inspecting and Replacing a CrystalBlast Nozzle.
4. Blasting with the Wrong Pressure
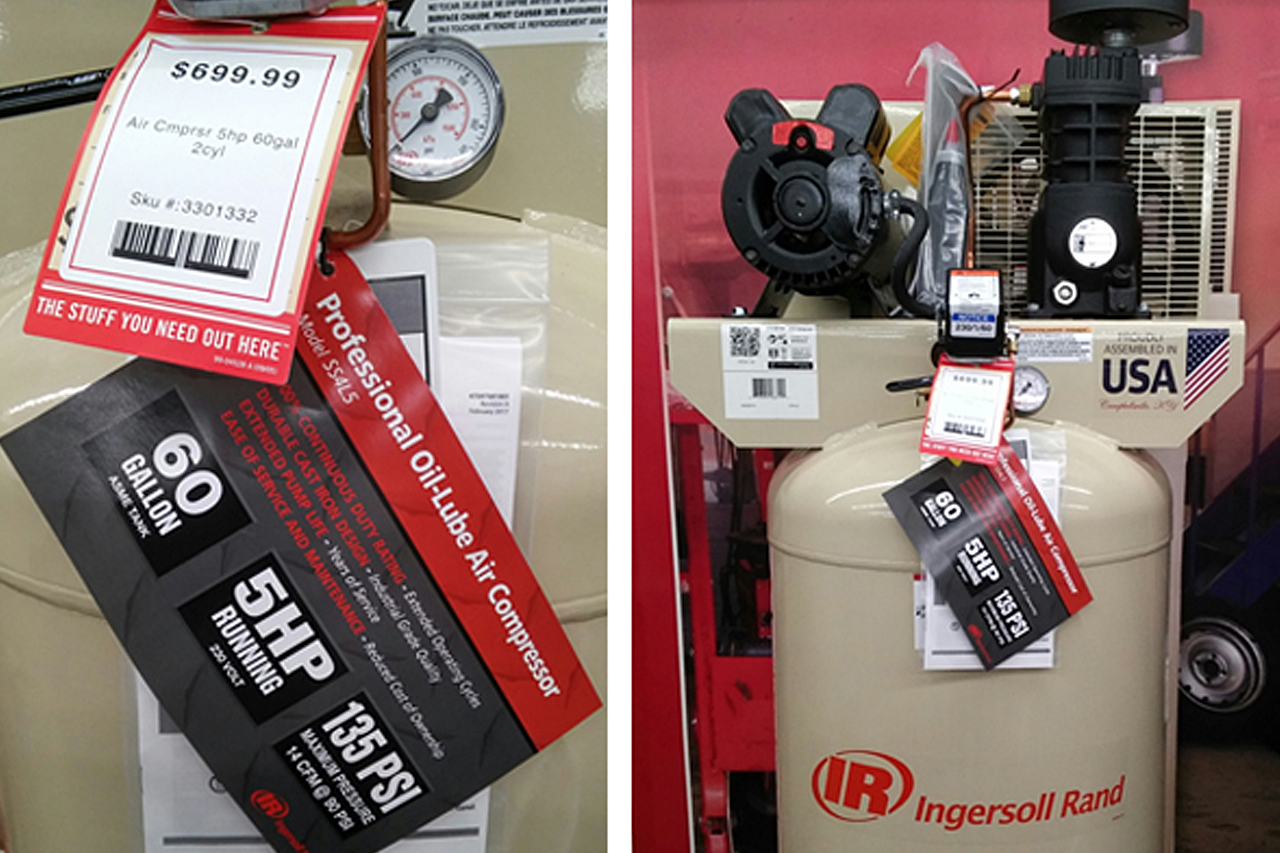
Using incorrect air pressure settings when sandblasting with your CrystalBlast sandcarving machine can either damage your material or fail to carve deep enough. Lower pressure is needed for delicate materials like glass and thin metals, while harder surfaces require higher pressure for effective carving. Understanding how much compressed air you need and how to adjust your settings for different projects is key to avoiding costly mistakes.
Learn more in our detailed guide: How Much Compressed Air Do I Need?.
5. Applying the Photoresist Mask Incorrectly
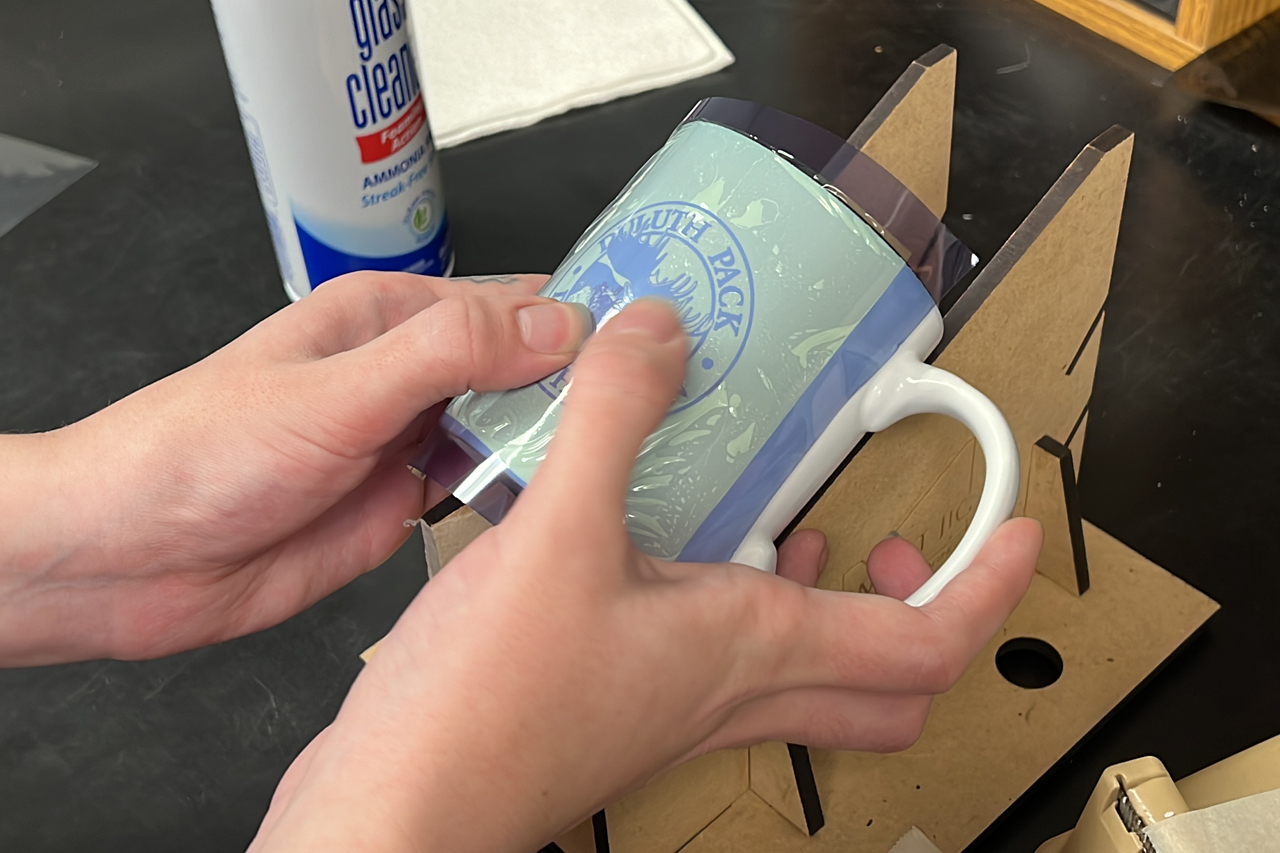
Improper application of the photoresist mask can lead to air bubbles, poor adhesion, and distorted designs. To avoid these issues, make sure to apply the mask evenly and firmly onto a clean, dry surface. If misalignment occurs, carefully reposition the mask before securing it fully. To ensure crisp results, start with a clean, dry surface and carefully apply the mask without stretching it. Removing air bubbles and securing the mask properly will help prevent peeling and distortion during blasting.
For a step-by-step guide on how to apply photoresist film correctly, visit: How to Apply Photoresist Film for Sandcarving.
Get Professional Sandcarving Results with IKONICS Imaging
By avoiding these common mistakes, you can improve the quality of your sandcarving projects and achieve consistent, professional results. Whether you’re selecting the right photoresist film, adjusting your blasting pressure, or maintaining your equipment, understanding these fundamentals will help you master the sandcarving process. For more expert tips and techniques, explore the IKONICS Imaging Blog or contact the IKONICS Imaging team.
