
28th May 2025
How To Adjust Print Settings on Canon Pixma iX6820 for High Density Printing
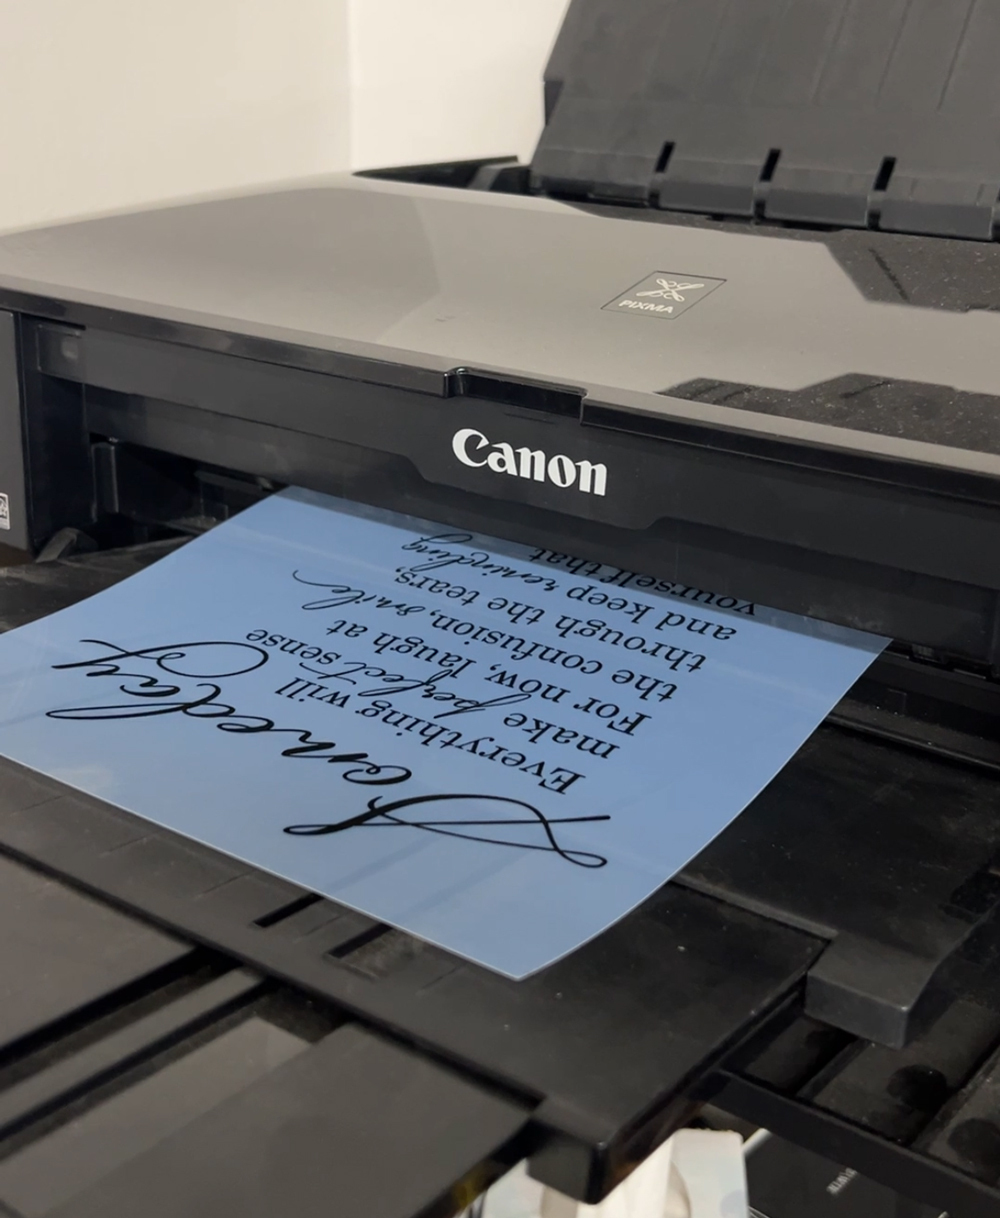
When preparing artwork for photoresist films used in IKONICS Imaging’s sandcarving process, one of the most critical steps is printing a high-density, opaque image that effectively blocks UV light during exposure. Whether you're using RapidMask, R-Series, or another IKONICS photoresist, the quality of your printed artwork directly impacts the success of your final etched piece.
This guide walks you through how to fine-tune your Canon Pixma iX6820 settings to achieve the darkest possible output—ensuring clear definition, clean washout, and precise results with your CrystalBlast sandcarver.
WATCH VIDEO: Adjust Print Settings for Canon Pixma iX6820
Canon Pixma iX6820 Print Settings for High-Density Film Positives
The exposure process uses UV light to block the photoresist film under the black areas of your artwork. The areas that are not blocked will harden, and the areas that are blocked will remain water soluble and wash away during washout, revealing your image. If your artwork is not fully opaque, light can leak through the blocked areas, making the washout more difficult. Here is how we adjust our print settings to print as dark as possible.
1. Artwork Preparation
Use your preferred graphics software (such as Corel Draw, Adobe Illustrator or Vectr) to create your design. Before printing:
- Ensure all elements are filled with 100% black (K)
- Group your design if needed
- Reflect your artwork if you are doing a back blast
2. Launch the System Print Dialog
When ready to print:
- Select “Print” from your application
- Choose the Canon Pixma iX6820 as your printer
- Click “More Settings” and scroll to “Print Using System Dialog”
This opens Canon’s native printer settings, allowing full customization.
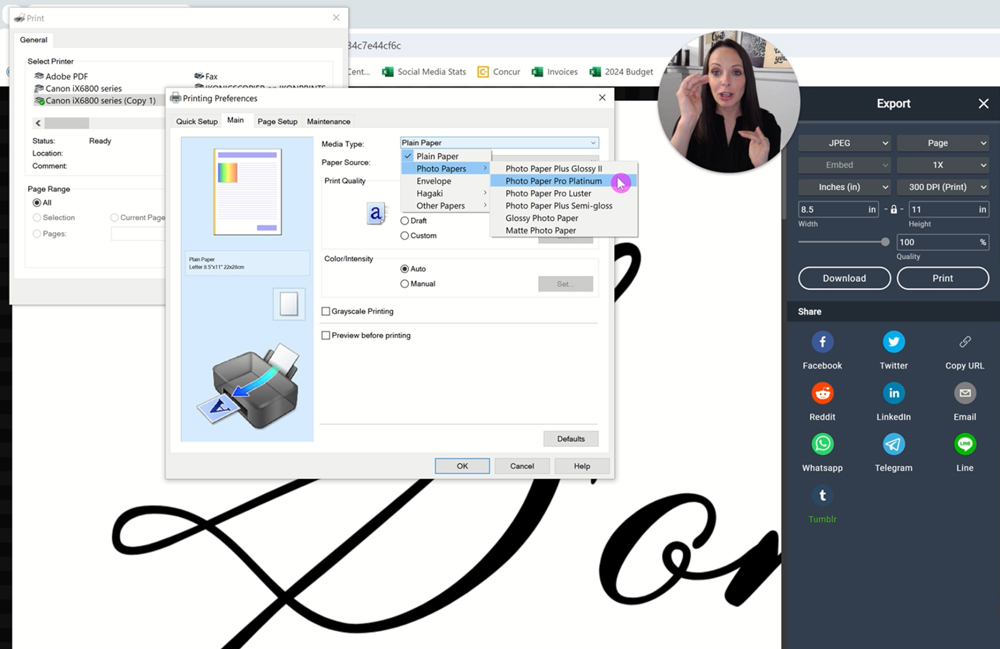
3. Set Paper and Quality Preferences
Once the Canon print dialog appears:
- Media Type: Select “Photo Paper Pro Platinum” – this enables maximum ink output and precision
- Print Quality: Set to “High” or move the slider under “Custom” to the darkest level
- Grayscale: Enable this to prevent color blending and promote dense black output

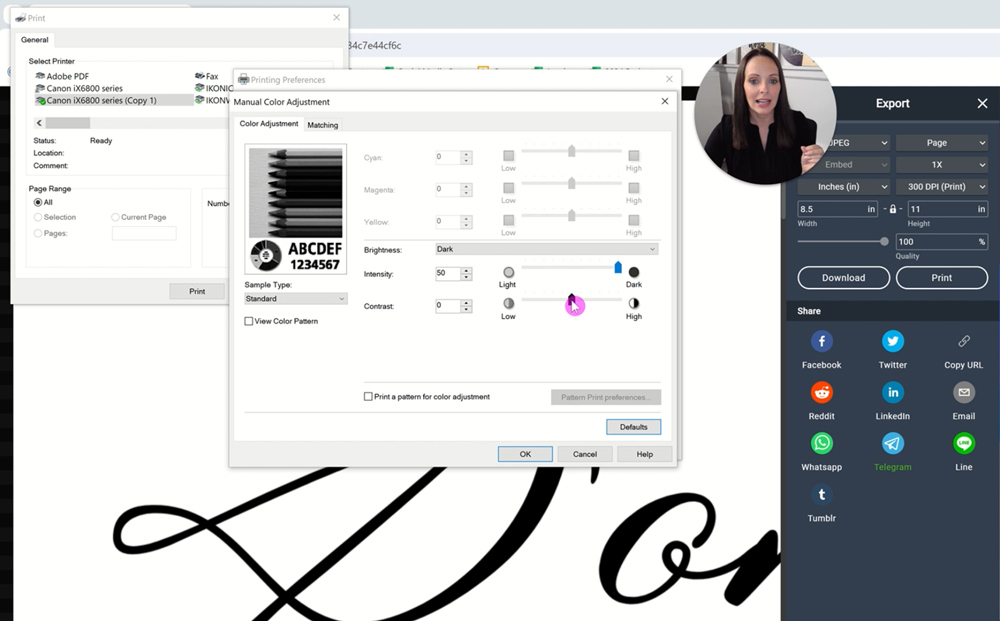
4. Adjust Color & Intensity Settings
Under the “Manual Color Adjustment” section, tweak these:
- Brightness: Set to “Dark”
- Intensity: Increase to the maximum value
- Contrast: Raise to the highest level
These settings boost ink saturation and definition, which are key to achieving clean, durable photoresist stencils.
5. Save a Custom Preset
To streamline your workflow:
- Click the “Quick Setup” tab
- Save these adjustments under a name like “Photoresist Mask Settings”
Next time you print, simply select this preset to apply all custom settings instantly.
6. Print and Verify Density
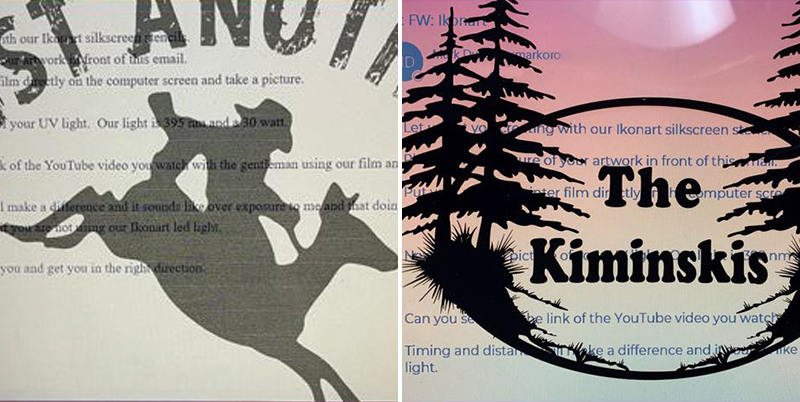
Print your design and hold it up to a bright light or a window. You should not see any light passing through the black areas—this indicates a high-density print capable of properly blocking UV light during exposure. If the artwork looks cloudy, washed out, or allows light to bleed through, revisit your printer settings and verify that each step was properly applied and saved.
Additional Tip: A useful test is the Sharpie trick. Use a black Sharpie marker to draw a small symbol (like a dot or X) directly over a printed area of your artwork. If the Sharpie mark appears significantly darker than the printed area, this indicates your printer isn’t laying down enough ink. This contrast can be a sign of skipped steps, incorrect settings, print head issues, or ink limitations—especially with Canon printers. If you see this difference, it may be time to troubleshoot your printer or consider alternative ink options to achieve better opacity.
Recommended Ink for Best Results
The type and quality of ink in your Canon Pixma can impact print density. While OEM Canon inks are optimized for this printer, third-party inks such as Arthur Imaging have also demonstrated excellent density in lab testing. If using alternatives, ensure they are pigment-based and capable of laying down heavy ink coverage.
IKONICS Imaging Exposure Units
Once your film positive is printed, exposure quality depends on the right equipment. IKONICS Imaging offers two industry-leading exposure systems:
Letralite UV Exposure Unit
- Compact, reliable and ideal for low- to mid-volume shops
- Consistent UV output for precise stencil curing
- Learn more: Letralite UV Exposure Unit
Quick Image Exposure System
- High-efficiency LED exposure unit ideal for mid- to high-volume shops
- Available in two sizes
- Faster exposure times and longer lamp life
- Learn more: Quick Image Exposure System
Both units are designed to deliver professional-grade results with any IKONICS photoresist film, ensuring your stencil hardens correctly and washes out cleanly.
Final Thoughts on High Density Printing
Perfecting your print settings is a crucial step in the IKONICS Imaging sandcarving workflow. By following this guide and using compatible high-density inks, you’ll maximize the performance of your photoresist films and achieve sharp, professional results every time. For more tips on the stencil-making process or equipment recommendations, visit the IKONICS Imaging blog or contact our technical support team.