

17th Nov 2026
How to Use RapidMask for Sandcarving
In our last blog post, we covered how to make photoresist stencils for sandcarving, but making photoresist stencils doesn't have to involve water, washout equipment, or drying time. With RapidMask dry-process photoresist film, you can go directly from UV exposure to applying your stencil and sandcarving.
Whether you're creating personalized glassware, detailed photographs, or decorative designs, RapidMask helps simplify stencil production without sacrificing the fine detail and blast resistance needed for professional results.
WATCH VIDEO: How To Use RapidMask Film for Sandcarving
What Makes RapidMask Different?
Traditional photoresist films require a washout step to develop the stencil, followed by drying before application. RapidMask eliminates both steps.
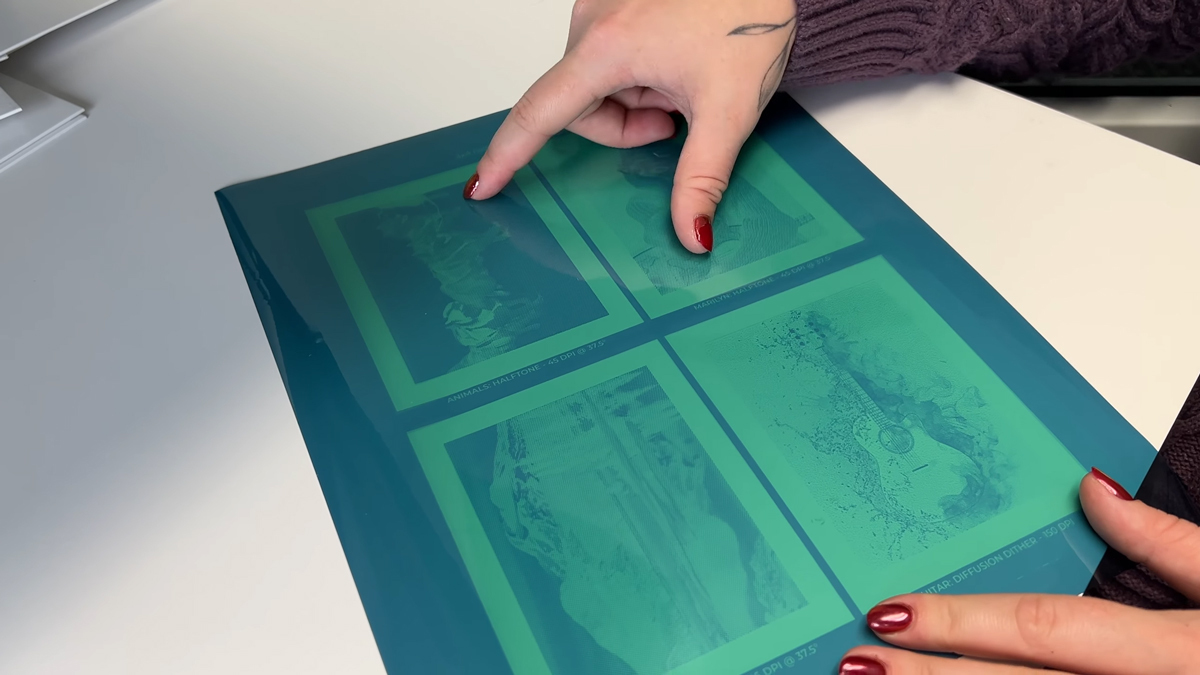
RapidMask is a self-adhesive, dry-process photoresist film that uses UV exposure to create a stencil. During exposure, the areas receiving UV light become brittle and turn blue. When sandcarved, these exposed areas break away, allowing the abrasive to reach the substrate while the remaining film protects the surrounding surface.
The process is straightforward: Expose. Apply. Sandcarve.
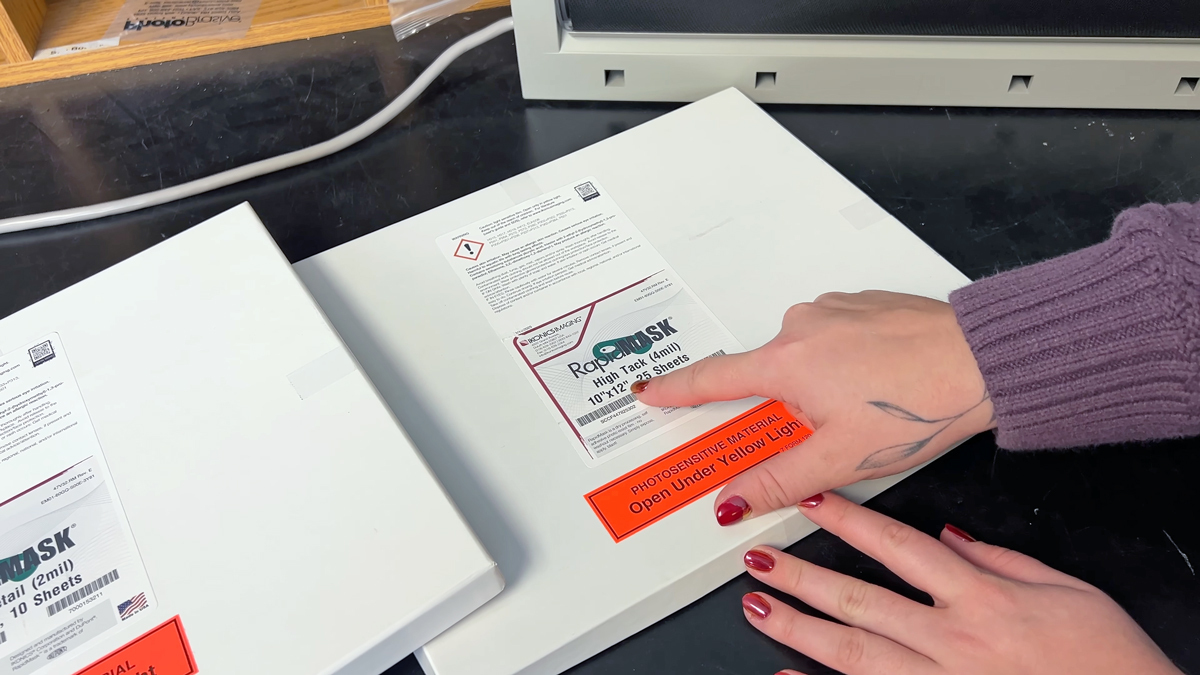
RapidMask is available in two thicknesses to accommodate different types of projects:
- RapidMask High Detail (2 mil): Ideal for fine detail, halftone photographs, small lettering, and light etching.
- RapidMask High Tack (4 mil): Offers greater blast resistance for applications requiring deeper carving.
Both films are self-adhesive, so there's no need to apply additional adhesive before positioning the stencil.
Step 1: Prepare Your Artwork
A good sandcarving stencil starts with high-quality artwork.
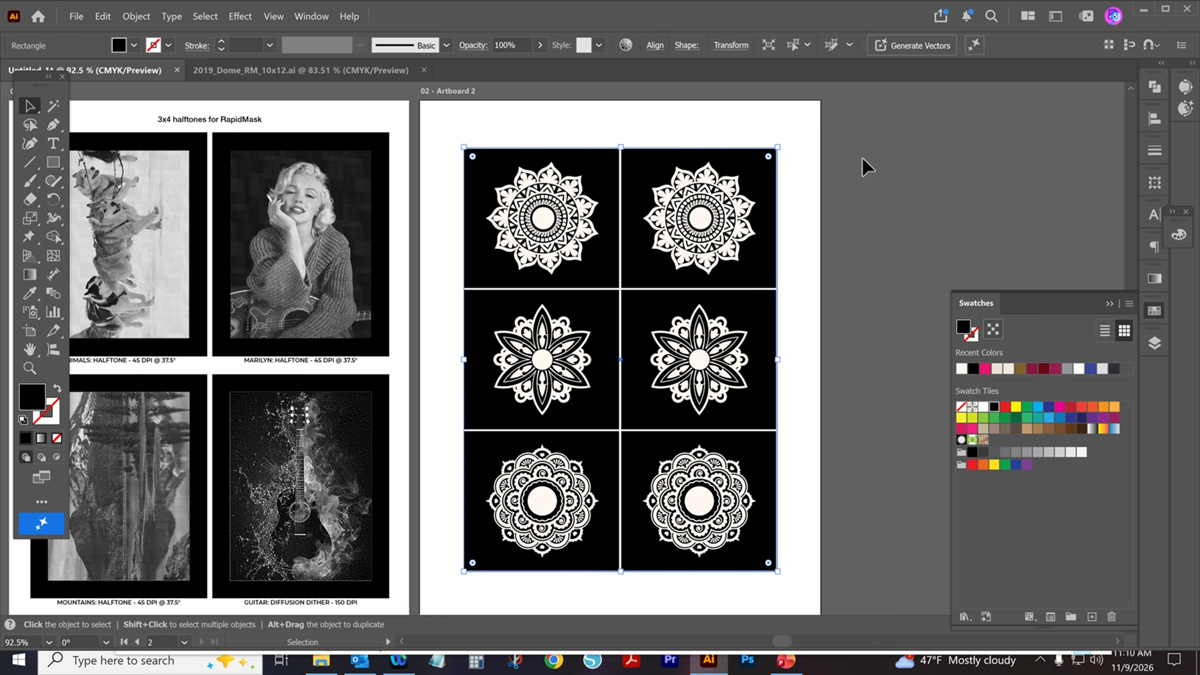
RapidMask requires a photographic negative, meaning the clear areas of your artwork represent the areas that will be sandcarved. The black areas protect the corresponding portions of the film from UV light.
For best results, use a high-density negative with sharp, clean edges. We recommend printing your artwork on a specially coated inkjet film, such as IKONICS Imaging AccuBlack, to achieve the opacity and detail needed for proper exposure.
It's also helpful to include a solid black border around your design. This makes handling and masking easier during the sandcarving process.
Step 2: Position the Film for Exposure
RapidMask has two distinct sides:
- Shiny side: The carrier sheet that supports the stencil during application.
- Dull side: The protective slip sheet covering the self-adhesive surface.
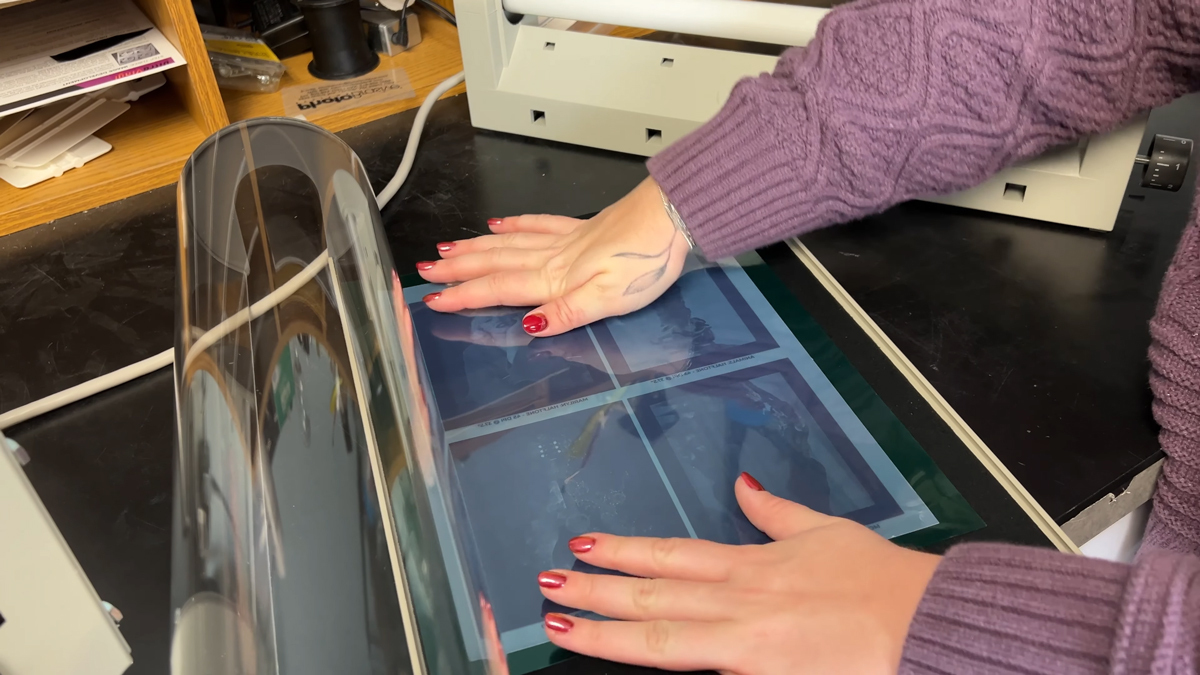
Place the RapidMask film in your UV exposure unit with the shiny carrier side facing down against the black backing.
Next, position your artwork negative with the printed side against the dull slip sheet side of the RapidMask film. Keeping the printed artwork in close contact with the photoresist helps produce accurate image reproduction.
Because RapidMask is light-sensitive, avoid direct sunlight and work under recommended safelight conditions before exposure.
Step 3: Expose Your RapidMask Stencil
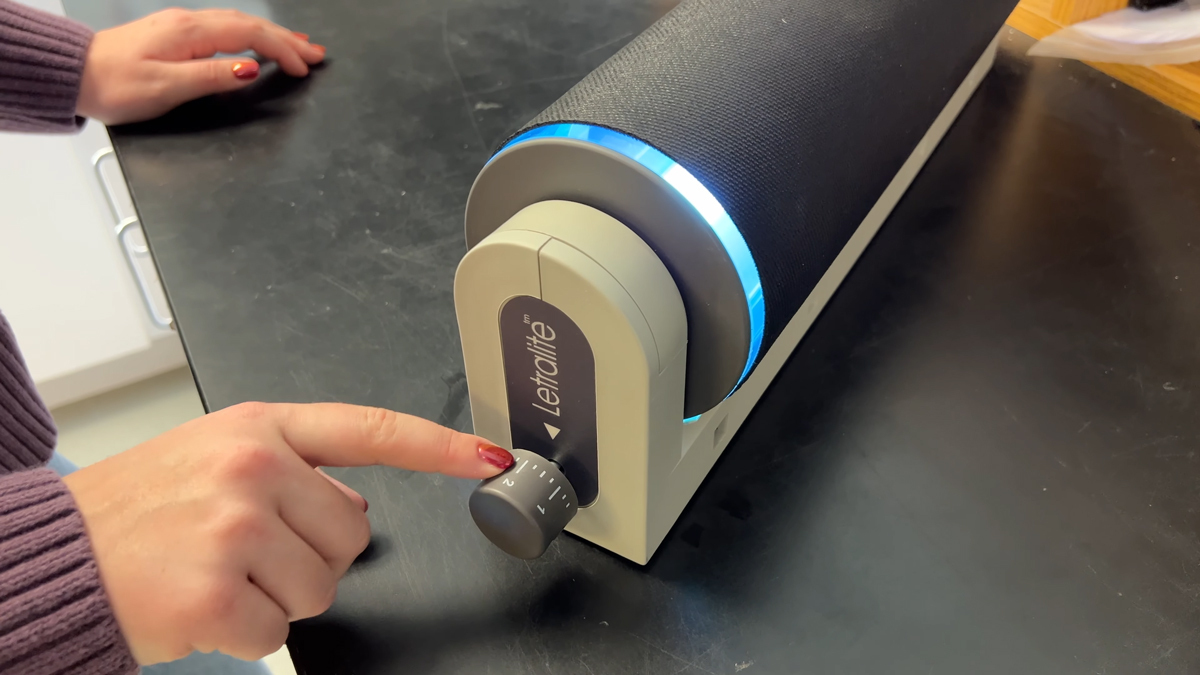
Once the film and artwork are positioned, you're ready for UV exposure.
Exposure time varies depending on the RapidMask thickness, exposure unit, and condition of the UV light source. Establishing the correct exposure time for your equipment is important for producing consistent results.
During exposure, UV light passes through the clear areas of the negative, causing those areas of RapidMask to turn blue and become brittle. The areas protected by the black artwork remain green and flexible.
For RapidMask High Detail, a simple snap test can help confirm that the film has received sufficient exposure.
The best part? Once exposure is complete, there's no washout or drying required. Your stencil is ready to apply.
Step 4: Apply the Stencil to Your Substrate
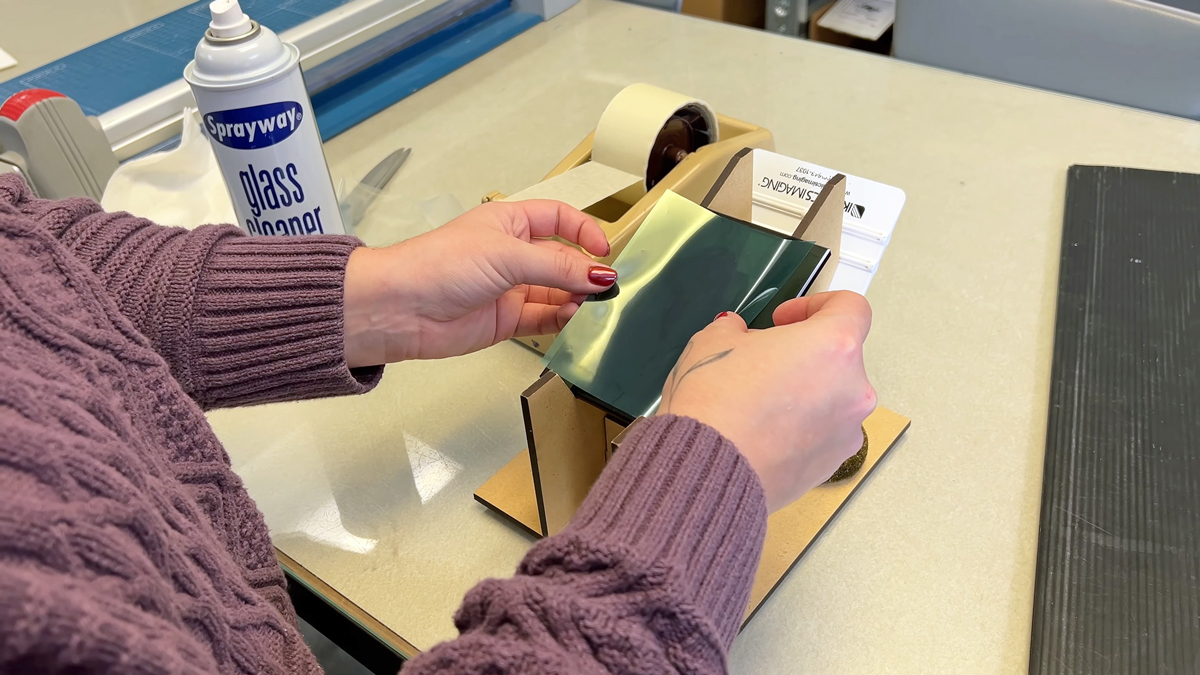
Before applying RapidMask, thoroughly clean the surface you'll be sandcarving. Dust, fingerprints, oils, and other contaminants can interfere with adhesion and affect your finished results.
Remove the protective slip sheet to expose the film's self-adhesive surface, then carefully position the stencil on your substrate.
Use a squeegee to apply pressure from the center outward, working out any trapped air. Once the stencil is securely positioned, carefully peel away the shiny carrier sheet.
Apply additional pressure across the stencil, paying particular attention to small lettering, fine details, and edges. A wire wheel can also help remove remaining air bubbles and improve contact between the stencil and substrate.
Mask any exposed areas that need protection from abrasive blasting, and allow approximately 15 minutes for adhesion to develop before sandcarving.
Taking a little extra time during application can help prevent lifting and keep your design crisp and clean.
Step 5: Sandcarve Your Design
With your stencil securely applied, you're ready to sandcarve.
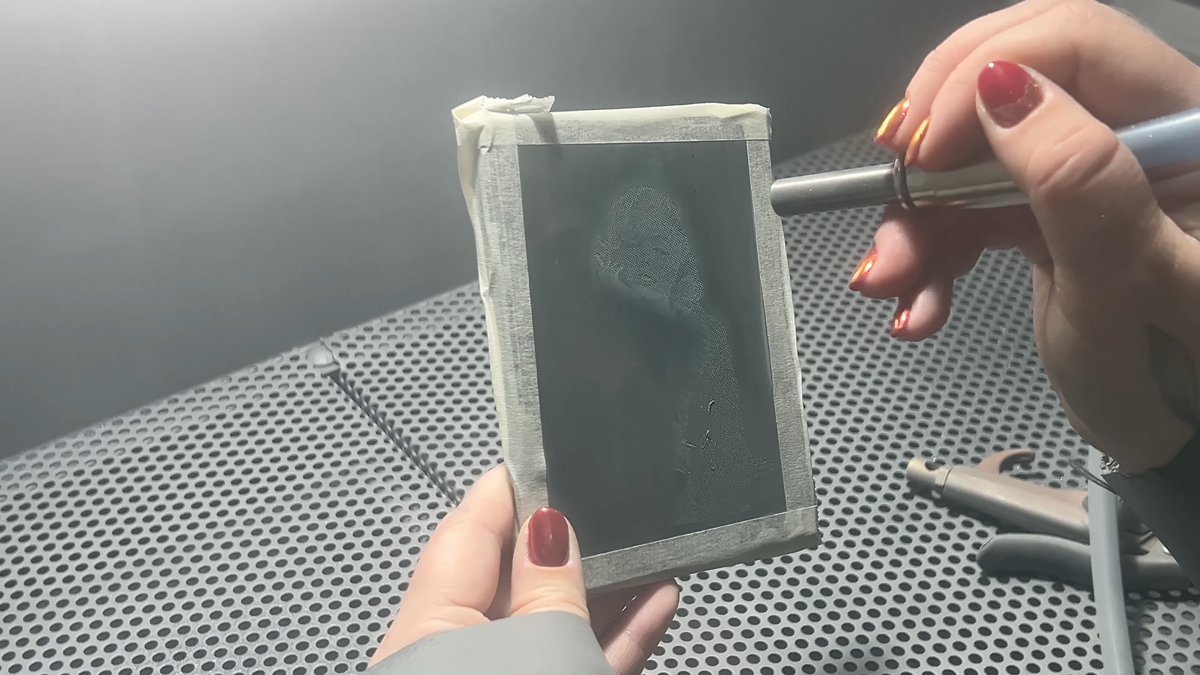
Place the prepared substrate inside your sandcarving cabinet and adjust the blasting pressure based on the film, abrasive, and equipment you're using.
Hold the blasting nozzle perpendicular to the surface, approximately 4 to 6 inches away, and move evenly across the design.
As you blast, the exposed blue areas of RapidMask break away, allowing the abrasive to etch the surface beneath. The remaining film protects the surrounding areas.
Continue blasting until you reach the desired etch depth.
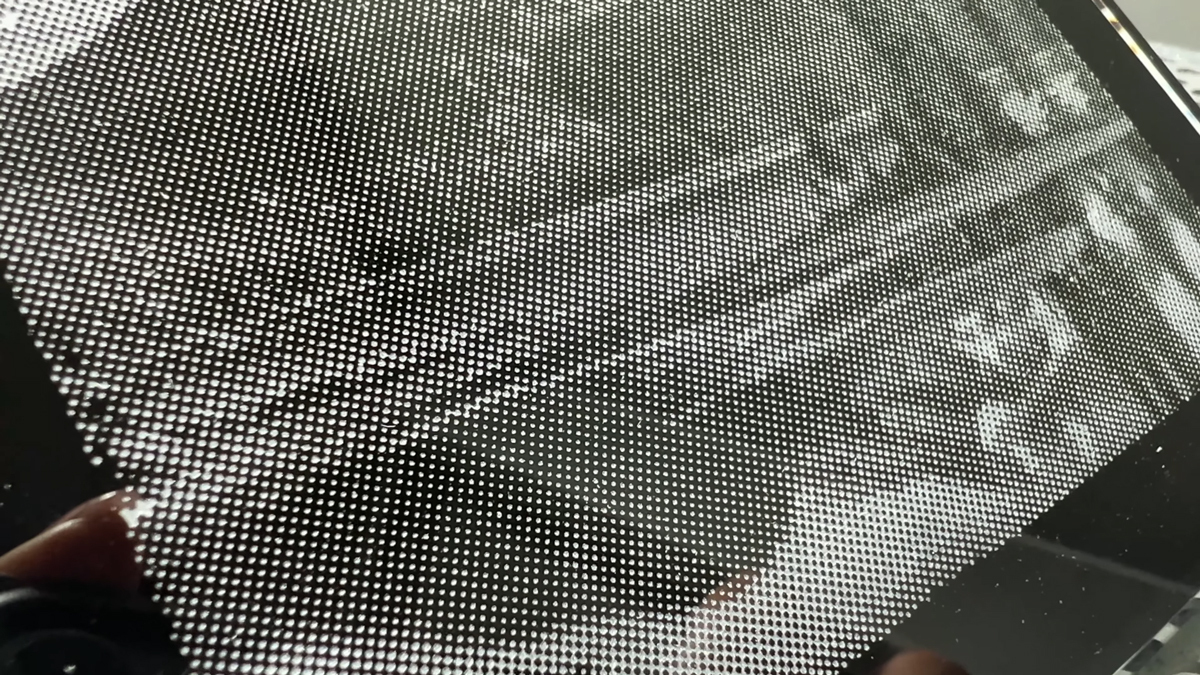
For intricate designs, halftone photographs, and light etching, RapidMask High Detail (2 mil) is an excellent choice. For deeper carving applications, RapidMask High Tack (4 mil) offers additional thickness and blast resistance.
Step 6: Remove the Stencil and Reveal Your Finished Piece
Once sandcarving is complete, use an air blowoff gun to remove loose abrasive from the surface.
The remaining RapidMask can be peeled away by hand. For easier removal, suitable substrates can also be soaked in warm water to help release the film.
Carefully remove any small pieces of remaining stencil, then clean the finished surface to reveal your completed design.
Simplify Your Sandcarving Workflow with RapidMask
One of the biggest advantages of RapidMask is how much it simplifies stencil production. Eliminating washout and drying means fewer processing steps, less equipment, and a more streamlined workflow.
Whether you're producing a single personalized gift or working on multiple projects, RapidMask provides a convenient way to create detailed sandcarving stencils.
Want to see the entire process in action? Watch our RapidMask overview video for a step-by-step demonstration, from artwork preparation through the finished sandcarved piece.
Ready to try it yourself? Get the RapidMask Test Kit or explore IKONICS Imaging sandcarving products to find the right solution for your next project.