18th Dec 2024
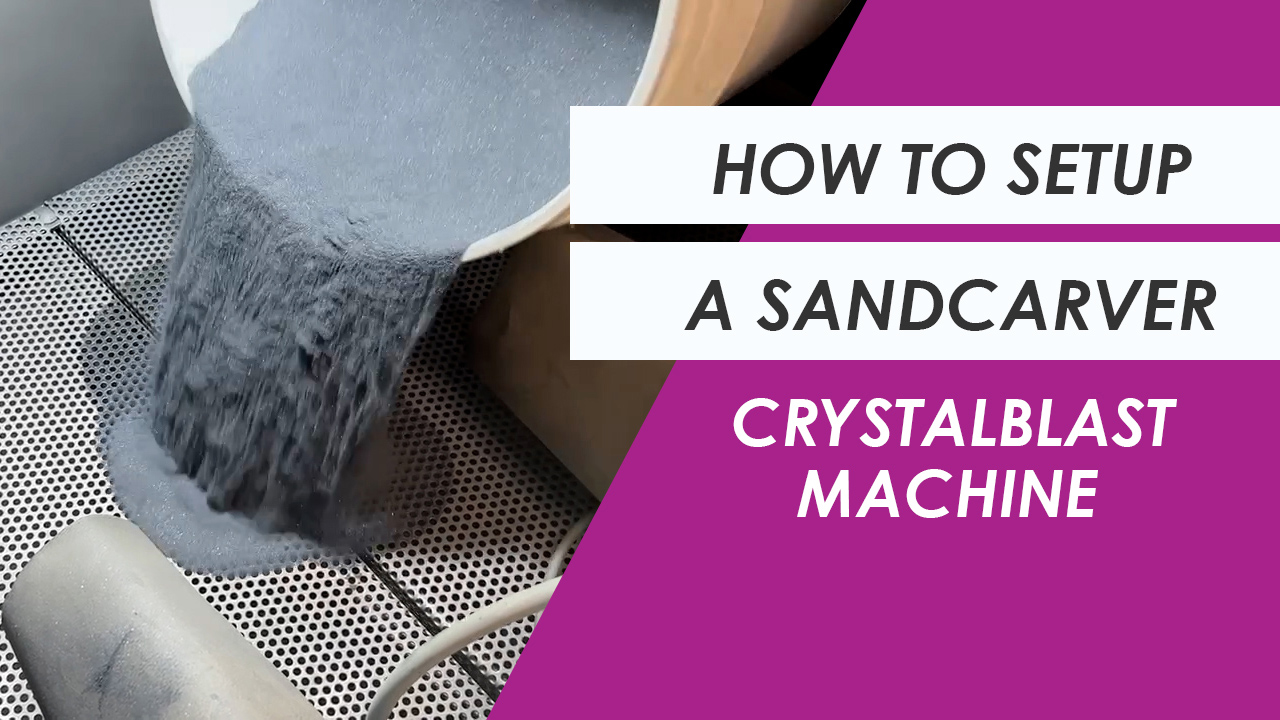
How To Setup A CrystalBlast Sandcarver
Designed and engineered in partnership with Media Blast & Abrasive, Inc., our line of CrystalBlast® sandcarving machines reflect decades of innovation and feedback from diverse users—ranging from small trophy shop owners to organizations like NASA.
Made in America and distributed globally, the CrystalBlast line offers models to fit every price point and function. These machines are expertly crafted to work seamlessly with our Photoresist Films.
WATCH VIDEO: How To Setup A CrystalBlast Sandcarver
An Overview of the CrystalBlast Line
Our CrystalBlast sandcarvers are engineered for precision, efficiency, and durability. With over ten models tailored to different production needs, we offer solutions for everyone from small home businesses to large corporations.
Each model is equipped with our patented CleanFlo Technology, a revolutionary dust collection system that ensures cleaner air and a more efficient workspace. CleanFlo Technology uses advanced filtration to minimize airborne particles, creating a safer and more sustainable environment for operators.
Highlights of the line include:
- CrystalBlast Pioneer: This entry-level cabinet is a versatile option, balancing size and capability.
- CrystalBlast Pro X2: Engineered for U.S. and International Companies with simple controls and easy maintenance.
- CrystalBlast Elite 3.0: Ergonomic design meets world-class construction.
- CrystalBlast Summit: Designed for high-volume production with advanced features for maximum efficiency.
Each model incorporates intuitive design elements, such as adjustable armrests and high-quality dust collection systems, ensuring ease of use and a clean workspace. If you have any questions about which CrystalBlast sandcarver is right for your shop, please reach out to our sandcarving experts for guidance. Now, let’s dive into the step-by-step setup process.
Step-by-Step Setup Guide
Setting up a sandcarver can feel daunting, but with our CrystalBlast machines, it’s a straightforward process. Whether you’re a seasoned professional or new to sandcarving, this guide will walk you through the essentials of setting up your CrystalBlast machine.
Step 1: Preparing Your Space
- Ensure your doorway can accommodate the machine. For doorways narrower than 30 inches, remove the armrest for easier transport.
- Position the machine on a flat surface with adequate ventilation and nearby power outlets.

Step 2: Installing the Armrest
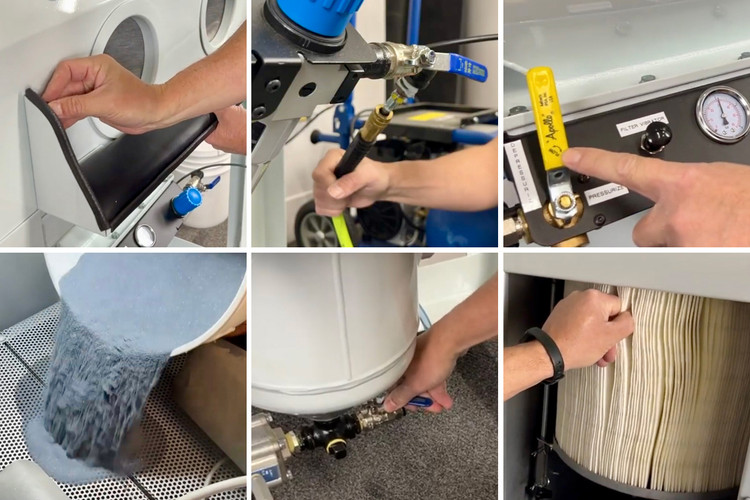
- Attach the armrest using the provided Allen head screws and nuts.
- Adjust the armrest height based on your elbow position for comfortable use.
Step 3: Connecting the Air Compressor
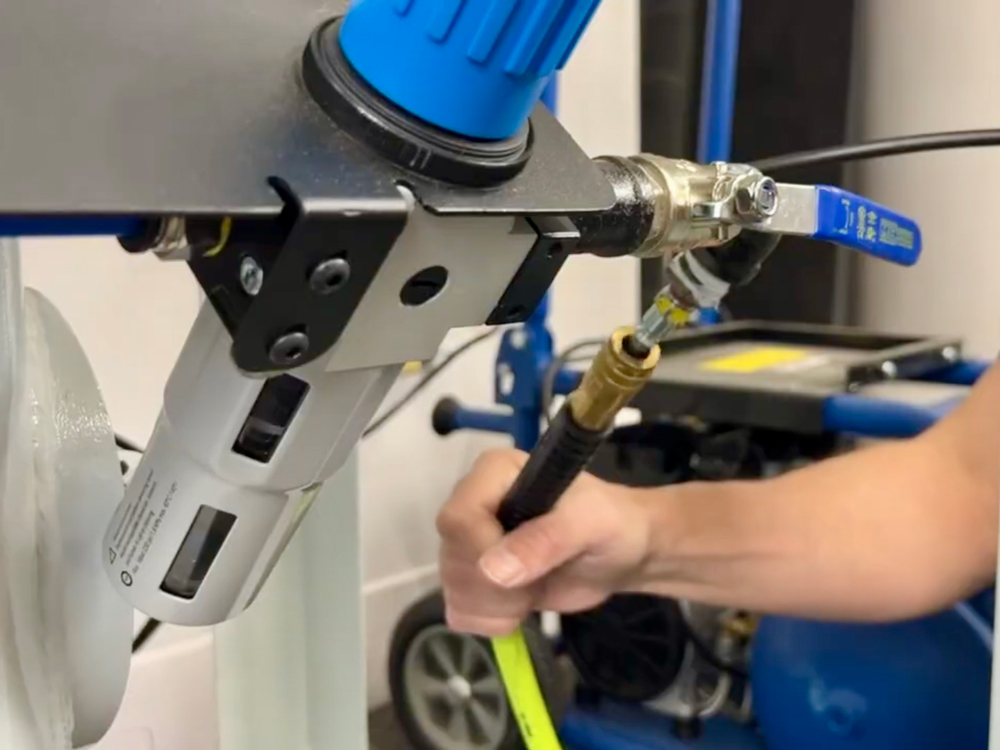
- Use a flexible air hose with a 3/8-inch inside diameter or larger for optimal performance. Keep the hose length under 25 feet to maintain consistent air pressure.
- Attach the quick-disconnect fitting to the hose and secure it to the compressor using Teflon tape or pipe dope as needed.
- Set your compressor to 120 PSI for best results. Note: A minimum of 6 CFM at 90 PSI is required for operation.
Step 4: Electrical Setup
- Avoid plugging the compressor, blower, and lights into the same circuit to prevent tripping breakers or reduced performance.
- Use separate circuits for these components to ensure efficiency.
Step 5: Checking for Air Leaks
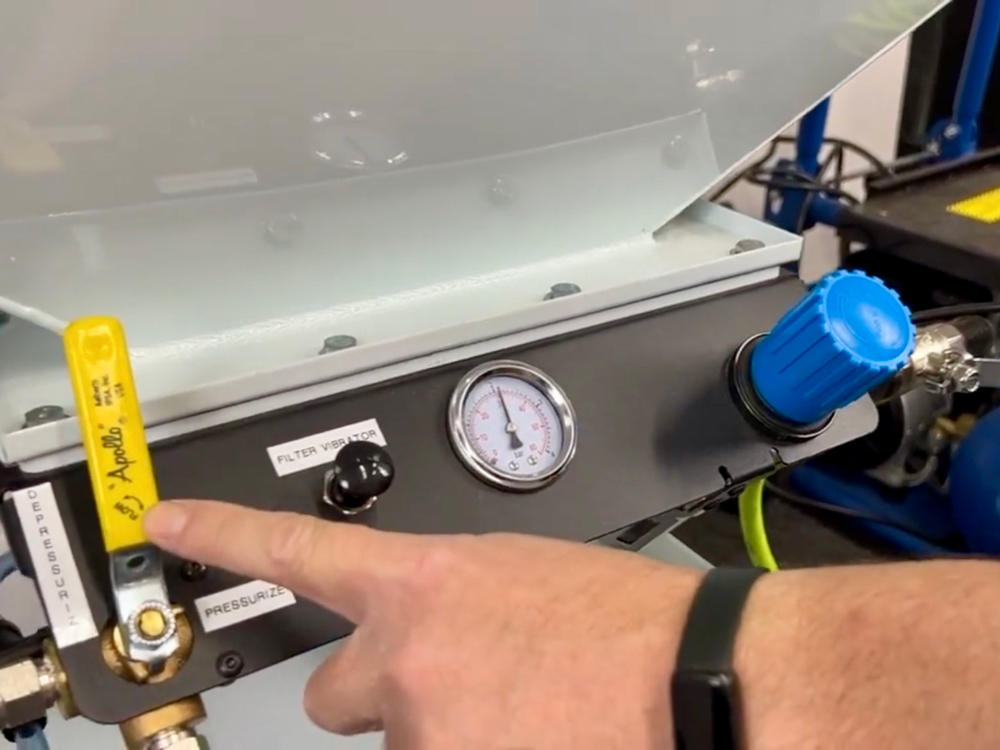
- Leave the dust collector blower off initially to listen for air leaks.
- Open the emergency shutoff valve and pressurize the system to 120 PSI.
- Check all connections and fittings for leaks. Tighten or reseal as needed.

Step 6: Adding Abrasive
- Open the hopper and pour abrasive into the center screen, ensuring even distribution.
- For initial setup, use 30-35 pounds of abrasive to prevent compaction if the machine isn’t used daily. For frequent use, you can add up to 50 pounds.
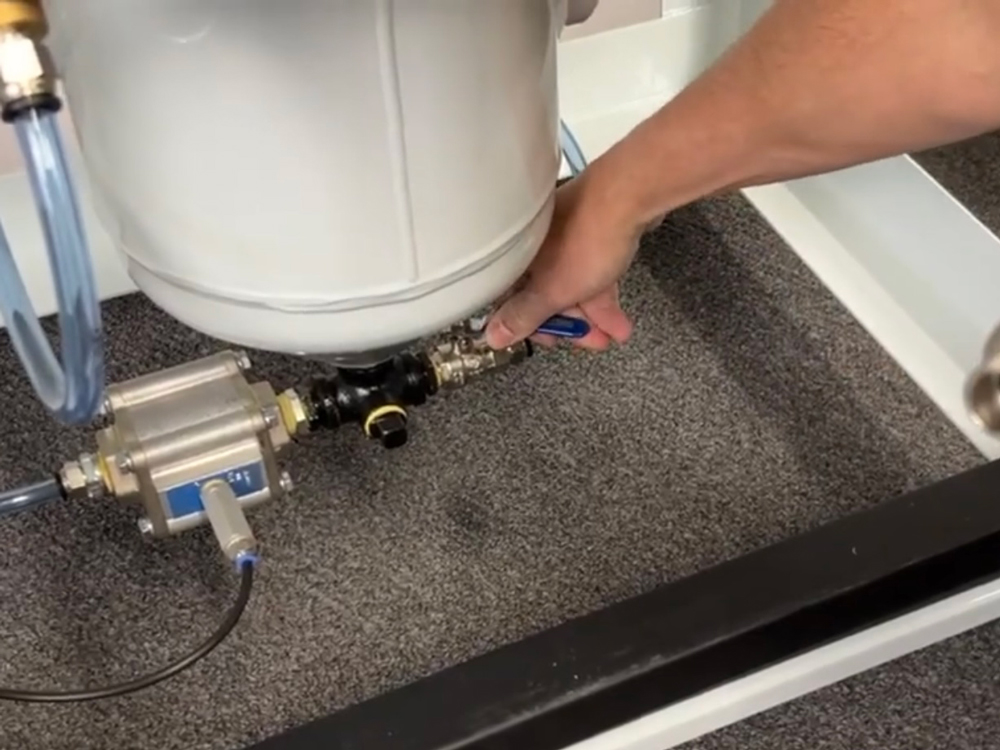
Step 7: Adjusting the Choke Valve
- Set the choke valve to 45° (halfway open) for a balanced mixture of air and abrasive.
- This adjustment ensures smooth operation and prevents clogging.

Step 8: Securing the Filter Vibrator Bracket
- During shipping, the filter vibrator bracket may loosen. Tighten it counterclockwise until the filter is secure and doesn’t move.
- This step prevents dust from escaping into your workspace.
CrystalBlast Setup Guides
For detailed setup instructions tailored to your specific model, check out the individual guides linked at the bottom of each individual CrystalBlast product page:
- CrystalBlast 4828 Setup Guide
- CrystalBlast Elite 3.0 Setup Guide
- CrystalBlast Elite X3 Extended Setup Guide
- CrystalBlast Expanded Cabinets Setup Guide
- CrystalBlast Master Setup Guide
- CrystalBlast MonuBlast Setup Guide
- CrystalBlast Navigator Setup Guide
- CrystalBlast Pioneer Setup Guide
- CrystalBlast Pro 1.0 Setup Guide
- CrystalBlast Pro 2.0 Setup Guide
- CrystalBlast Pro X2 Setup Guide
- CrystalBlast Scout Setup Guide
- CrystalBlast Summit Setup Guide
Setting up your CrystalBlast sandcarver is the first step in your sandcarving journey. With proper setup and maintenance, these machines will provide years of reliable performance for all your sandcarving projects. For more tips and tutorials, visit our IKONICS Imaging YouTube channel. If you have any questions, please contact the IKONICS Imaging team.
